
Last updated November 22, 2026
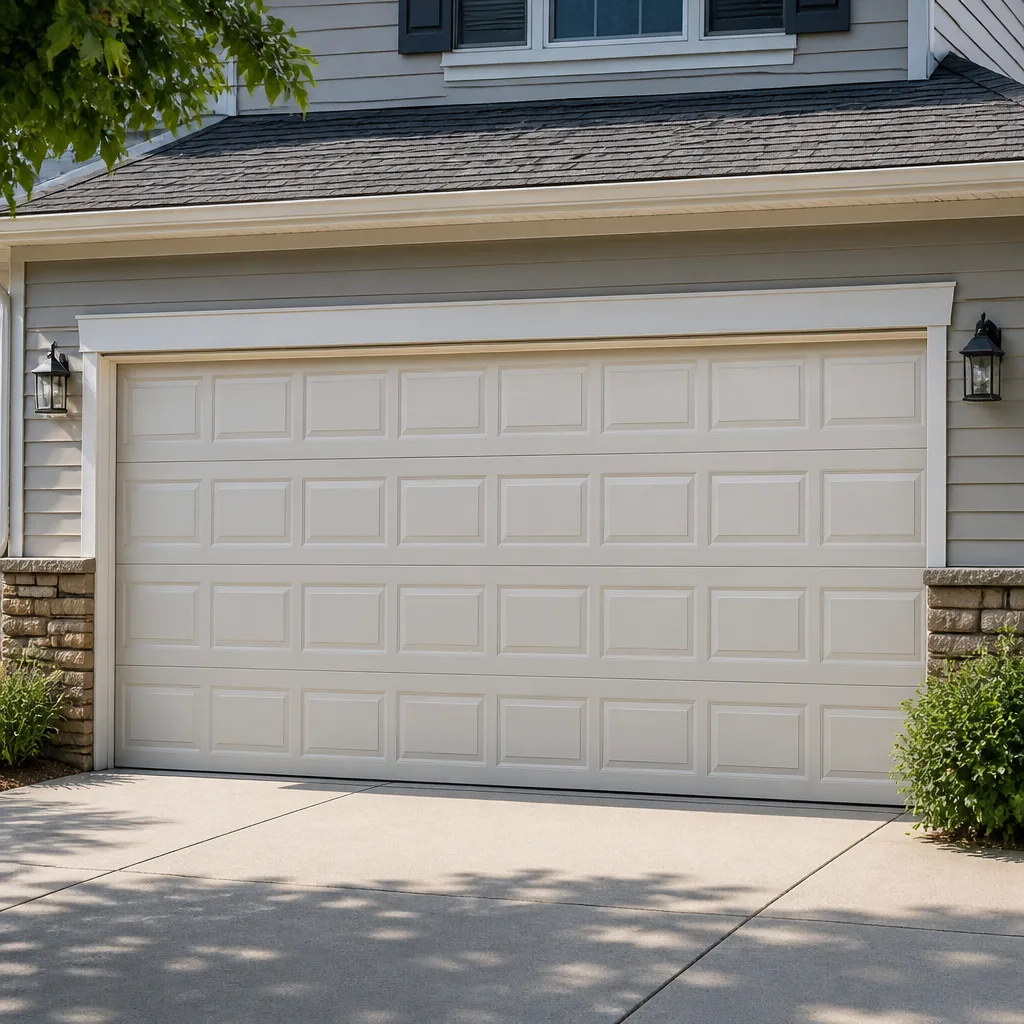 Raised-panel steel
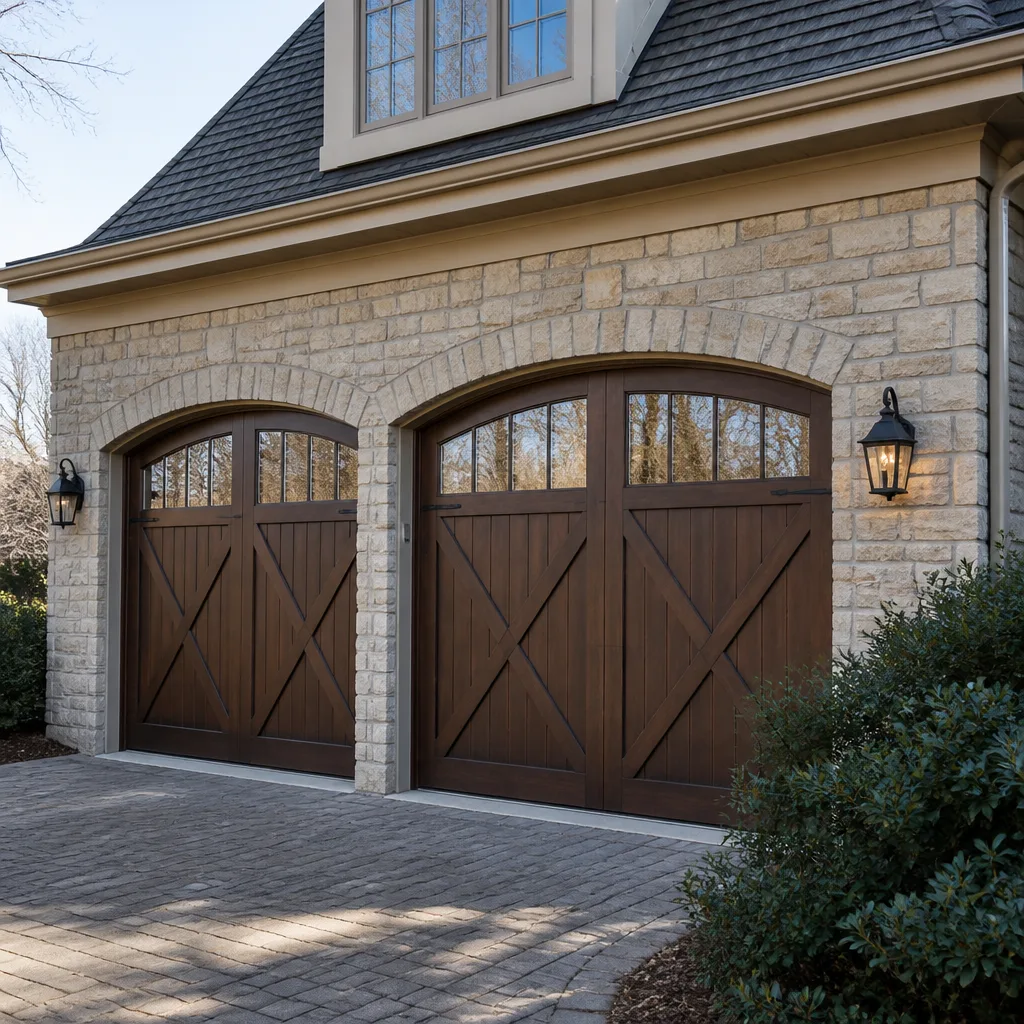 Carriage house
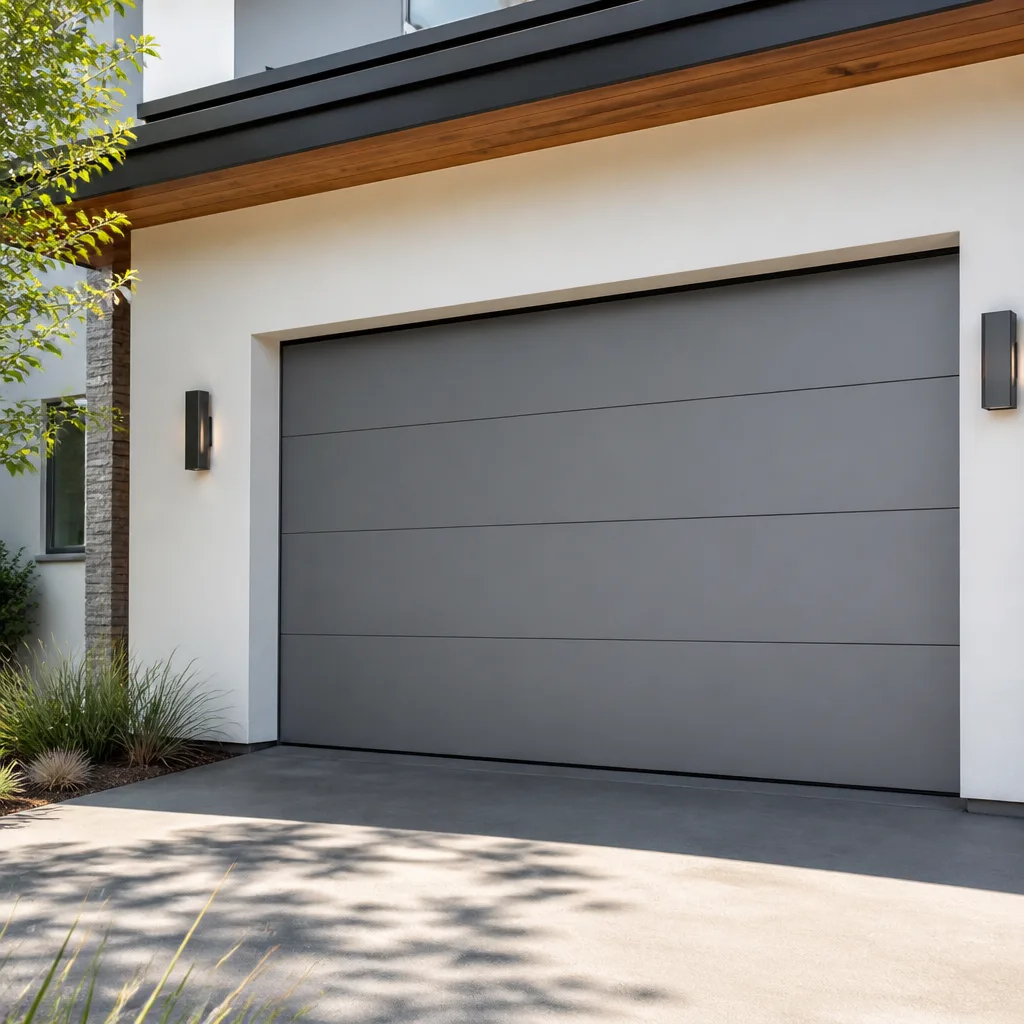 Modern flush
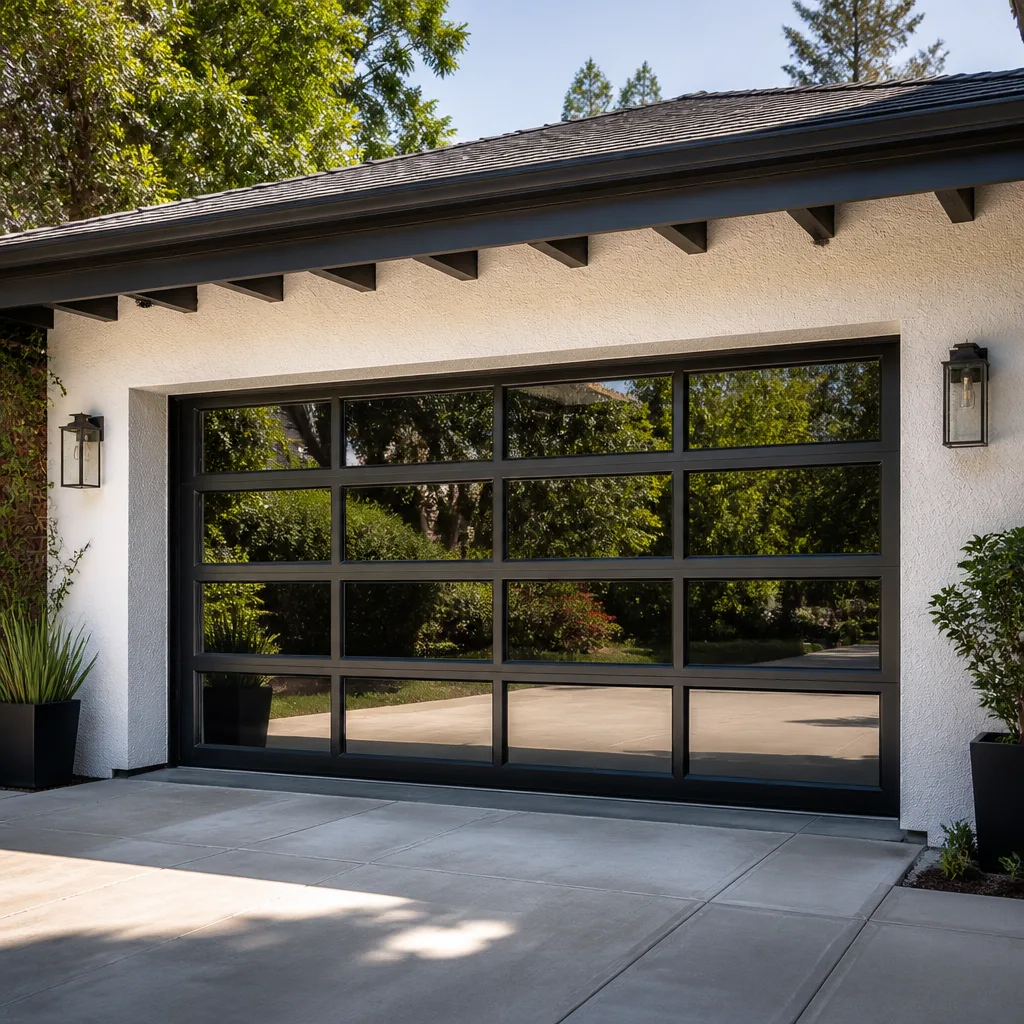 Full-view glass
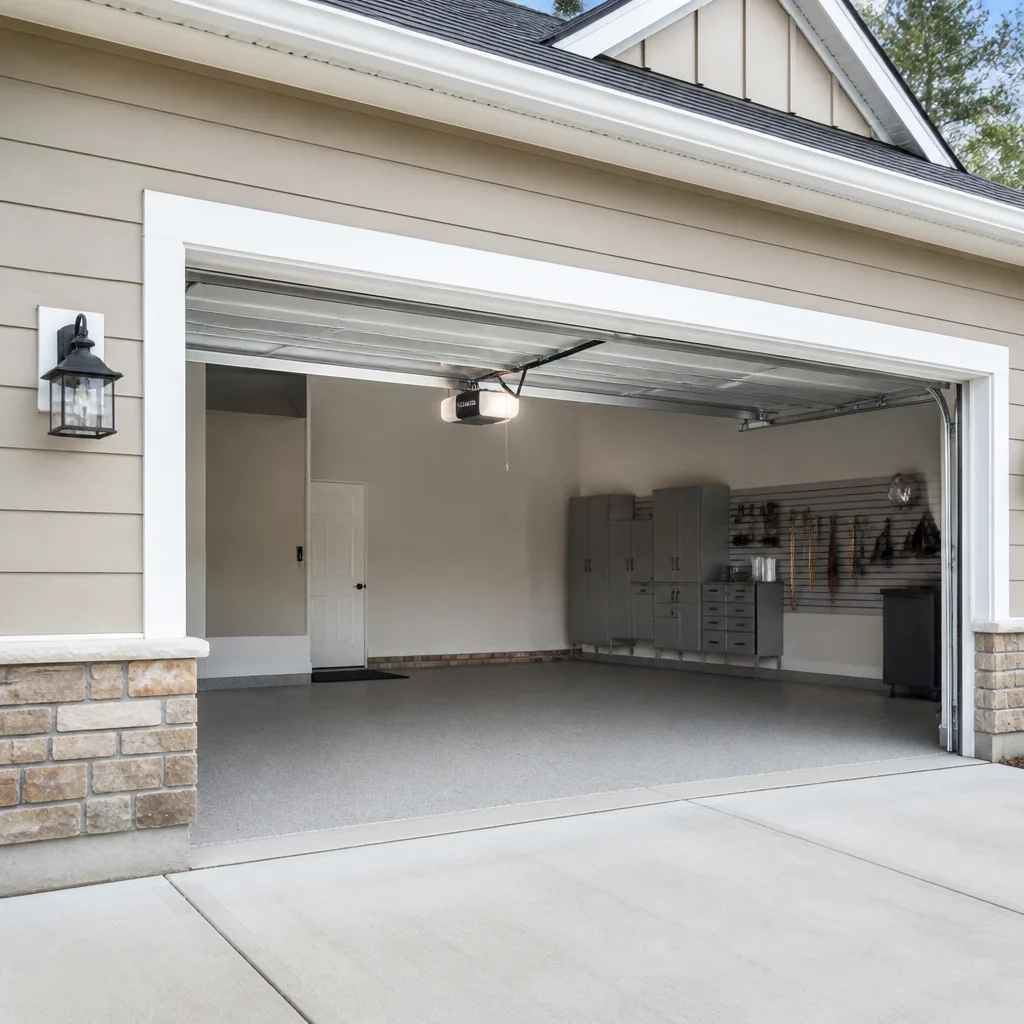 LiftMaster openers
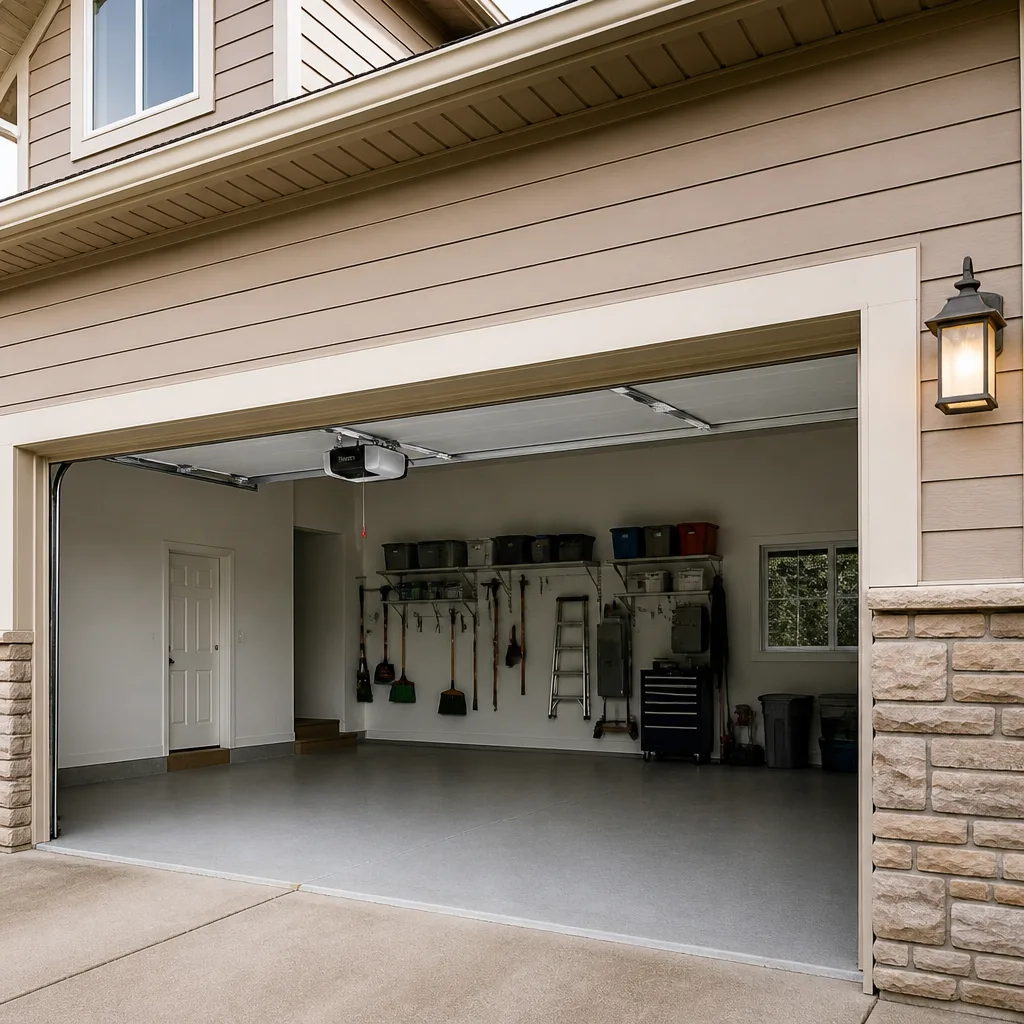 Chamberlain openers
Full 25-point door and opener safety check with every visit - springs, cables, rollers, tracks, and your LiftMaster or Chamberlain opener included
You get a price before we start. It does not change when the pro arrives.
Get your free estimateGarage Door Repair Maintenance Checklist for Framingham Homeowners
The call we get most often isn’t “my door just broke.” It’s “my door was making a noise for two months and now it won’t open.” That two-month window is everything. It’s the stretch where a bottom seal starting to fray, or a roller that’s gone flat, turns into a much bigger repair because nothing interrupted it. Garage doors almost never fail without warning – they telegraph the failure for weeks. This guide walks through which components give out first in Framingham’s humidity-then-freeze cycle, what to lubricate (and what lubricant actually makes it worse in February), how to check spring health without touching the springs, and what to log so a technician diagnoses faster when you do call.
Quick Answer
A working maintenance routine for a Framingham garage door covers four things in this order: the bottom seal, the cables, the rollers, and the springs – that’s the sequence in which New England’s wet-then-frozen weather degrades them. Inspect monthly, lubricate moving metal parts twice a year (before the first freeze and again in spring), and test the door’s balance and auto-reverse function every season. Anything involving springs, cables under tension, or opener wiring belongs to a trained technician.
Styles & brands we work with
- Raised-panel steel
- Carriage house
- Modern flush
- Full-view glass
- LiftMaster openers
- Chamberlain openers
Table of Contents
- The Failure Sequence: What Wears Out First in Framingham
- Lubrication That Survives a Framingham Winter
- How to Check Your Springs Without Touching Them
- Weatherstripping and Your Heating Season
- Your Monthly and Seasonal Checklist
- Balance, Auto-Reverse, and Safety Testing
- What to Log and Photograph Before You Call
- What Early Intervention Saves You
The Failure Sequence: What Wears Out First in Framingham
Garage doors don’t fail randomly – they fail in an order, and that order is shaped by the weather here. Framingham sits in a climate that swings between damp, humid summers and long stretches of sub-freezing winter with repeated freeze-thaw cycles. That combination is hard on a door in very specific ways. Understanding the sequence tells you where to look first and what to catch before it spreads.
1. The Bottom Seal
The bottom seal – the rubber or vinyl strip along the bottom edge of the door – is the first thing to go. It sits on cold concrete, holds moisture against the floor, and takes the most direct contact with snow, ice, and road grit tracked into the garage. In Framingham, a seal that stays wet through a freeze becomes brittle and cracks. Once it’s cracked, water works under the door, and the frame and floor start taking on moisture too.
2. The Cables
Cables are the second component in the failure line. They’re under constant tension, and the constant flexing from daily cycling wears the strands. In a humid summer they can corrode; in winter the cold makes the metal less forgiving. A cable that’s starting to fray usually shows it first as a slight droop on one side of the door, or as a door that opens slightly crooked. Cables are under dangerous tension and should never be adjusted or replaced by a homeowner.
3. The Rollers
Rollers ride in the track and carry the door’s weight as it moves. The nylon or steel wheels wear flat spots, and those flat spots create a rumble you’ll hear before you see anything wrong. Framingham’s grit and freeze-thaw debris in the track accelerate the wear. Worn rollers put extra strain on the next component in the chain – the springs.
4. The Springs
Torsion or extension springs carry the weight of the door and take the cumulative stress of everything above. They’re typically the last to fail, but they fail suddenly and loudly. By the time a spring breaks, the seal, cables, and rollers have usually been telling you for months that the system was being overworked. This is why catching the early items matters so much – each one you replace on time takes load off the spring.
If you’re seeing any of those signs, it’s worth booking garage door repair early rather than waiting for the door to stop working.
Lubrication That Survives a Framingham Winter
The wrong lubricant is worse than no lubricant. In a climate that drops below freezing for weeks at a time, a thin oil or a general-purpose spray can thicken into a sticky paste that collects grit and actually increases friction. We see this on Framingham doors every winter – someone sprayed the tracks with whatever was in the garage, and by January the rollers were grinding. The right products keep their viscosity in the cold and stay put through summer humidity.
What to Use
- Silicone-based spray lubricant for the rollers, hinges, and the torsion spring coils – it stays fluid in sub-zero temperatures and doesn’t attract dust the way oil does.
- White lithium grease for the opener’s drive screw on screw-drive units – a thin film, applied sparingly.
- A clean rag and a stiff brush for the tracks – tracks get cleaned, not greased. Greasing a track is one of the most common mistakes we correct.
What to Avoid
- WD-40 in its standard form. It’s a water displacer, not a lasting lubricant. It evaporates and leaves a residue that attracts grit.
- Generic “garage door lube” sprays sold at big-box stores that list petroleum distillates as the base – these gum up in cold weather.
- Motor oil or cooking oil. Both collect dust and run off in heat.
- Grease on the tracks. It traps debris and turns the track into a grinding surface.
Apply lubricant twice a year: once in late fall, right before the first hard freeze, and once in spring after the last thaw. On a Chamberlain or LiftMaster opener with a belt or chain drive, a light application on the rail is enough – the opener’s internal gear case is sealed and shouldn’t be opened by a homeowner. If the opener itself is the problem, garage door opener repair covers the electronics and the mechanical drive.
How to Check Your Springs Without Touching Them
You can assess spring health entirely from a safe distance. Springs do the hardest work on the whole door and store enough energy to cause serious injury. We don’t recommend homeowners adjust, oil the coils by hand, or attempt to identify a spring’s condition by feel. What you can do is watch and listen.
Visual Cues
- Torsion springs mounted on the shaft above the door: look for a visible gap in the coil, a spring that appears “stretched out” compared to its neighbor on a two-spring door, or a separation where the coil has unwound.
- Extension springs running along the horizontal tracks: look for a spring that’s clearly longer or more extended than the other side, or a safety cable that’s loose.
- Rust or heavy powdery corrosion on the coils – common on Framingham doors after a few humid summers – is a sign the metal is fatiguing.
Operational Cues
- The door feels noticeably heavier when you lift it by hand (disconnect the opener first, and only lift from the center handle – never reach under a moving door).
- The door drifts down a few inches after you stop it halfway – a sign of weakening springs or a balance issue.
- The opener strains or stalls at a certain point in the travel – the spring may be failing to counterbalance the door.
- You hear a loud bang from the garage, followed by the door not opening. That’s a broken spring – don’t operate the door.
If any of those cues show up, the safest next step is a professional spring inspection. Spring work is a specialty we handle as its own service because of the tension involved – trained technicians with the right tools, not a generalist with a wrench. If your door won’t open at all, an emergency call is the right move; our Framingham Garage Door Repair specialists treat a door stuck open or a car trapped inside as a real priority, not an inconvenience.
Weatherstripping and Your Heating Season
Weatherstripping is a maintenance item tied to your heating season, not a calendar month. The right time to inspect it is right before you start heating the house heavily – usually late October in Framingham, once the overnight temperatures start dropping and the furnace is running. The wrong time is mid-summer, when the seals look fine because they’re warm and pliable. A seal that seems fine in July can be brittle and cracked by December.
What to Inspect
- The bottom seal – check for cracks, gaps, or a seal that’s pulled loose from its channel. Run a hand along the bottom edge from the inside while the door is closed; you shouldn’t feel cold air coming through.
- The side and top weatherstripping – the vinyl or rubber strips around the frame. Look for gaps where you can see daylight, or strips that have pulled away from the nails.
- The threshold – the raised strip on the floor that the bottom seal compresses against. If it’s cracked or missing, the bottom seal wears out faster.
- The garage-to-house door – the weatherstripping on that interior door matters as much as the garage door’s, and so does the door closer and the threshold sweep.
The Cost of a Bad Seal in Framingham
A failed bottom seal on a Framingham door lets cold air straight into the garage, and a garage that shares a wall with the house pulls heated air out of the living space. The seal itself is one of the cheapest components on the door to replace – typical estimates run in the low hundreds of dollars installed. Waiting until the seal is fully gone usually means the threshold or the door frame starts taking water, and those repairs run higher. A seal replacement can be scheduled as part of a routine service call; it’s not a “do it yourself with a screwdriver” job on most modern doors, because the seal sits in a channel that requires the door to be positioned precisely.
Your Monthly and Seasonal Checklist
Here’s the routine we recommend for Framingham homeowners. It’s built around the freeze-thaw cycle, so the fall and spring entries carry more work than the summer entries. A monthly check takes about five minutes.
Monthly (Five Minutes)
- Look at the bottom seal from inside, door closed. Any light or cold air coming through means the seal needs attention.
- Run the door through a full open-close cycle. Listen for new noises: a rumble (rollers), a scrape (track), a groan (springs or hinges).
- Check the tracks for debris – leaves, grit, small stones. Sweep or vacuum them out. Don’t grease them.
- Look at the springs from a distance. Any visible gap or obviously stretched coil calls for a professional check.
- Test the opener’s auto-reverse (see the safety testing section below).
Fall (Before the First Freeze)
- Lubricate all moving metal parts with silicone spray: rollers, hinges, spring coils, and the opener’s rail.
- Inspect the weatherstripping on all four sides of the door, plus the threshold.
- Check the balance of the door with the opener disconnected.
- Look at the cables for rust or a visible fray. Don’t touch.
- Check the garage door opener’s force settings – if the door needs more force than it did last year, something’s wearing out. A LiftMaster or Chamberlain opener with a smart-hub feature will often log force-limit errors you can see in its app.
Spring (After the Last Thaw)
- Re-lubricate the same parts as the fall check.
- Inspect the bottom seal again – the freeze-thaw cycle is the hardest thing it goes through.
- Check the door panels for cracks, especially on wood or older steel doors, where moisture from winter can work in.
- Test all safety features again, including the photo-eye sensors near the floor.
- Photograph the door and the mechanism for your log (see below).
Balance, Auto-Reverse, and Safety Testing
Safety testing is the part of maintenance that actually protects people. Two tests matter most, and both are safe to do as a homeowner.
The Balance Test
- Disconnect the opener using the manual release cord – the red handle hanging from the rail. Pull it down and back.
- Lift the door by hand to about halfway open, using the center handle. Never reach under the door or put your fingers between the panels.
- Let go. A properly balanced door should stay at the halfway point, give or take a few inches.
- Lower it slowly back down, then reconnect the opener by running it until it re-engages.
If the door slams down, drifts more than a foot, or takes real effort to lift, the springs or the balance are off. That’s a professional call, not a homeowner fix.
The Auto-Reverse Test
- Place a 2×4 flat on the floor directly under the middle of the door.
- Close the door using the opener. It should reverse on contact with the board without crushing it.
- If it doesn’t reverse, stop using the door until it’s fixed – that’s the feature that protects children, pets, and cars.
- Test the photo-eye sensors by waving an object in front of them while the door is closing. The door should reverse immediately. If the sensors are misaligned or the indicator lights are solid rather than blinking, they need adjustment. On a Genie or Chamberlain opener, the sensor lights tell you what’s wrong if you know the code.
These are the two tests an inspector will run, and they’re the two that matter most day-to-day. Do them at least once a season.
What to Log and Photograph Before You Call
Here’s where most homeowners leave money on the table. When you call for service, the more you can tell the technician up front, the faster the diagnosis and the less time on the clock. We’ve seen a two-minute phone description save a full half-hour of on-site troubleshooting.
What to Write Down
- The door’s make and model – usually a sticker on the inside of a panel or on the end stile. Clopay and Amarr doors have their branding molded into the panel end or on a tag.
- The opener’s make and model – Chamberlain, LiftMaster, Genie, and Craftsman units all carry a model plate on the back or inside the light cover.
- When the noise or symptom first appeared and whether it’s getting worse.
- What the door does exactly – won’t open at all, opens halfway and stops, opens crooked, reverses immediately, makes a grinding sound only at the bottom.
- Whether you’ve lubricated anything recently and with what product. This matters.
- The last time the door was professionally serviced, if you know.
What to Photograph
- The full inside of the door: springs, cables, tracks, rollers, and opener rail in one wide shot.
- The bottom seal from inside, close up.
- The springs – a clear shot of the coils so the technician can see if they’re torsion or extension, and whether a gap is visible.
- The opener model plate.
- Any rust, fraying, or gap you noticed.
A technician who already knows the door’s brand, age, spring type, and symptom can often bring the right part to the first visit. That’s a real cost saver. If it’s the opener’s electronics that are the concern, the same log applies to garage door opener repair, where knowing the model and the error code often saves a second trip.
What Early Intervention Saves You
Here’s the real argument for maintenance: the cost of catching something early is usually a fraction of the cost of catching it late. We’re not going to quote exact prices here because every Framingham door is different and the written estimate is the final word, but the pattern is consistent across every brand we work on – Clopay, Amarr, Wayne Dalton, and the rest.
| Component | Caught Early | Caught Late |
|---|---|---|
| Bottom seal | Cheap, one-visit repair | Seal replacement plus threshold or frame work |
| Rollers | Replaced as a set during routine service | Track wear and spring strain from running on flat wheels |
| Cables | Replaced before failure | Door drops, track bends, opener damage |
| Springs | Single-spring replacement when a coil starts to fatigue (a matched pair is usually replaced together, so a pair costs roughly twice a single spring) | Broken spring plus the door won’t open plus potential opener strain |
| Weatherstripping | Replaced during the fall service call | Moisture damage to the frame and higher heating costs |
The principle is simple: every early repair on that list is roughly the same size. Every late repair is a chain of two or three of them. Maintenance doesn’t eliminate repairs – it keeps them from compounding. And on a spring, “late” can mean an injury, not just a bill. When a door finally needs replacement rather than repair, garage door installation covers the full door, and the measurements from your log make that estimate more accurate from the start.
Common Mistakes to Avoid
- Lubricating the tracks. Tracks should be clean, not greased. Grease traps grit and turns the track into a grinding surface – a mistake we see constantly on Framingham doors during the winter.
- Using the wrong lubricant for cold weather. Standard WD-40 and petroleum-based sprays thicken in sub-zero temperatures. Silicone is the right choice. If you’re not sure what’s on the door, a clean rag and a fresh application of silicone is the fix.
- Ignoring a bottom seal that’s “just a little cracked.” That seal is the first line of defense for the whole door. In Framingham’s freeze-thaw cycle, a small crack becomes a full breach within one season.
- Trying to adjust springs or cables yourself. Springs and cables store enough energy to cause serious injury. This is the single most dangerous thing a homeowner can attempt on a garage door. Spring work belongs to trained technicians.
- Skipping the seasonal safety tests. The auto-reverse and balance tests take two minutes and protect the people and pets in your household. Run them at least twice a year.
- Waiting for the door to stop working altogether. A door that won’t open is usually a late-stage symptom of a problem that started months earlier. That “two-month window” is real, and it’s where the cost difference lives.
- Calling a generalist handyman for a spring or opener problem. A garage door is a mechanical system with specific safety features and brand-specific parts. A generalist may get it loose, but a specialist gets it right.
See the difference
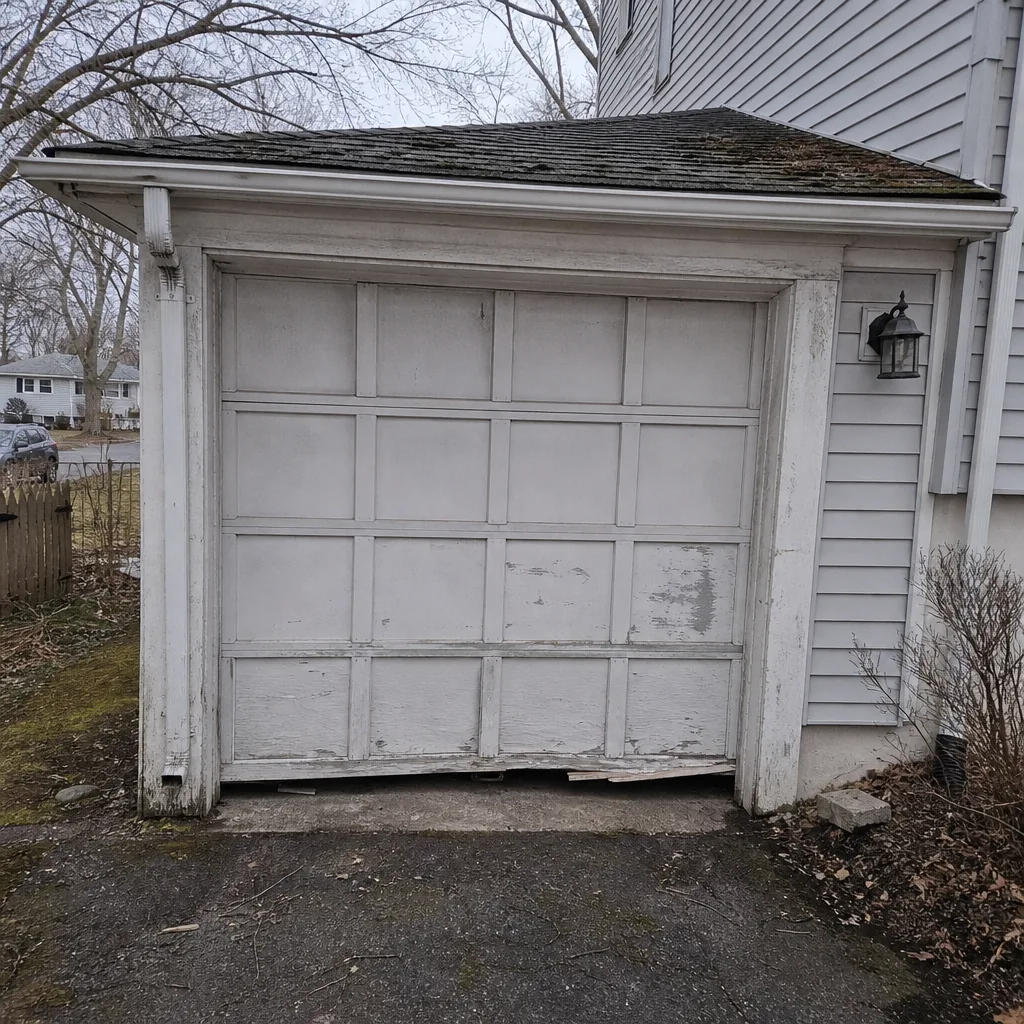 Before
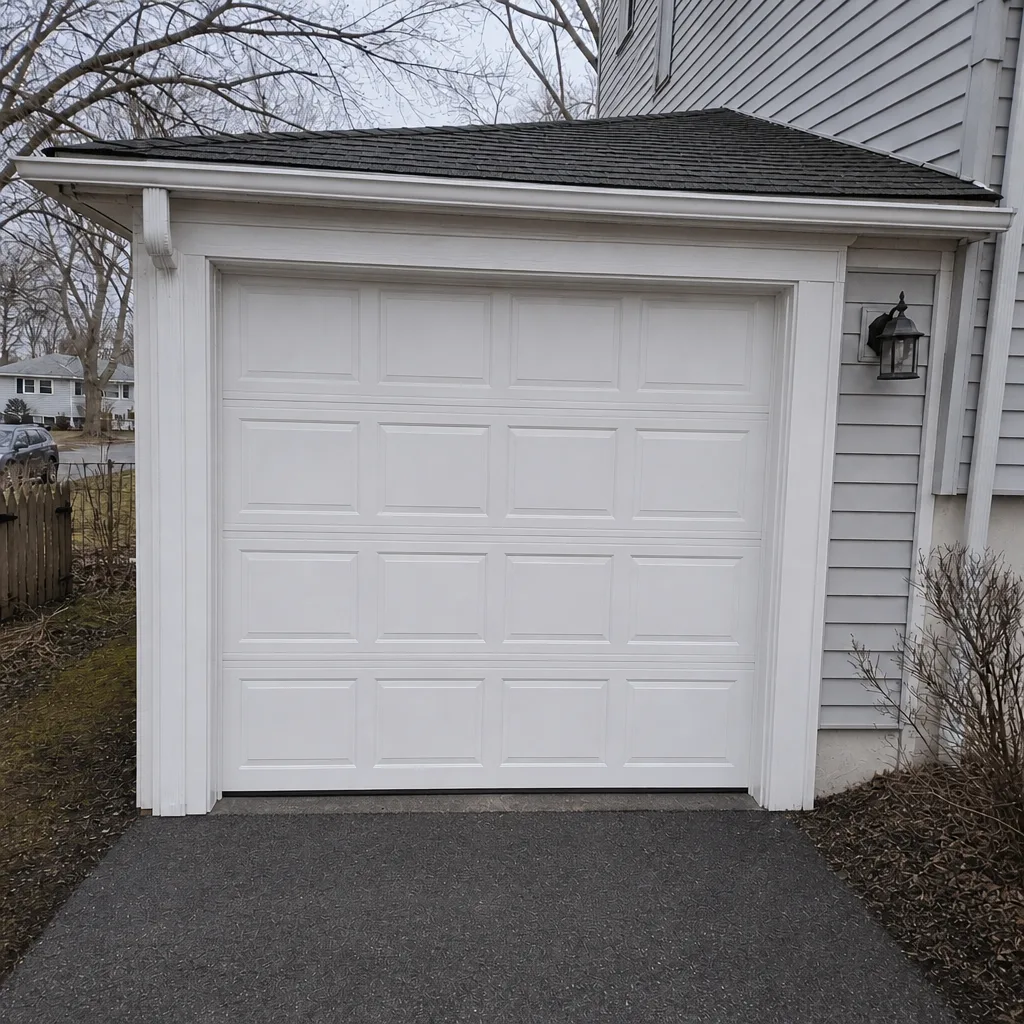 After
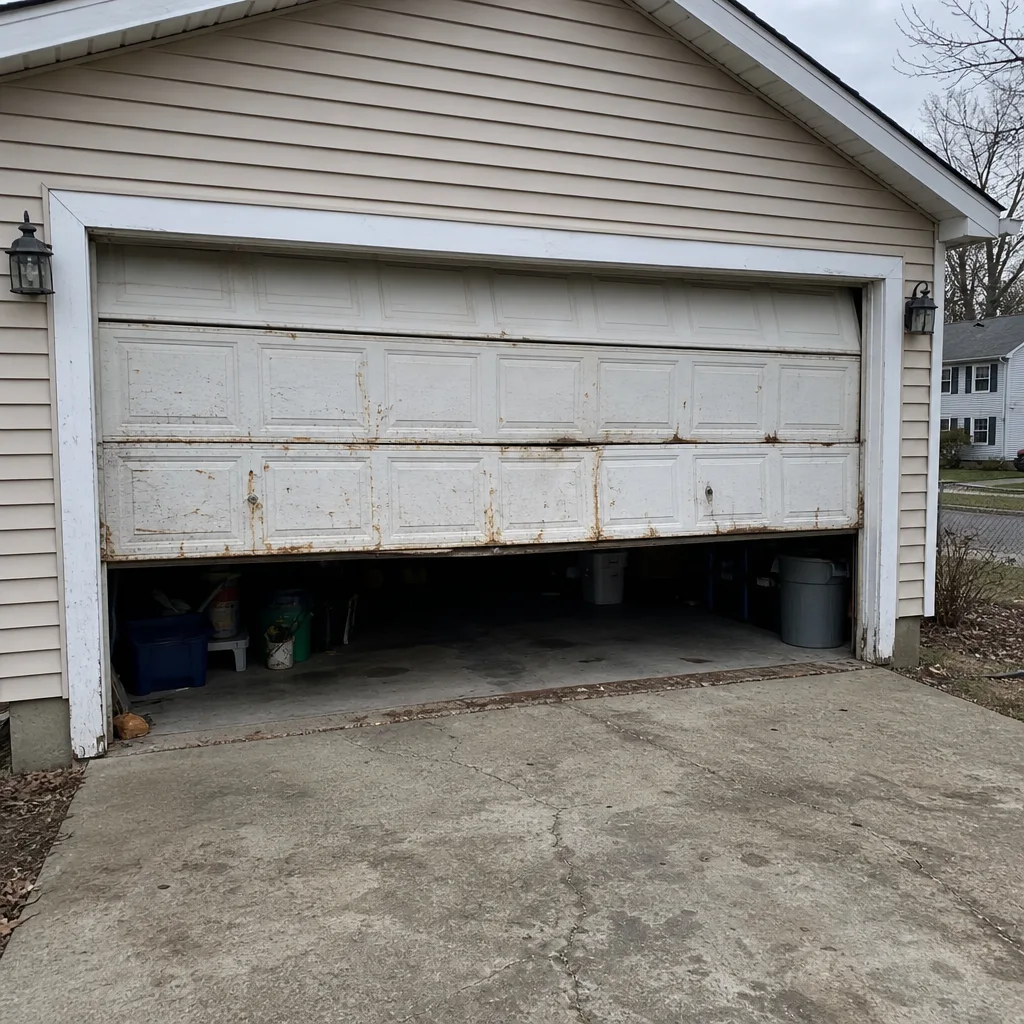 Before
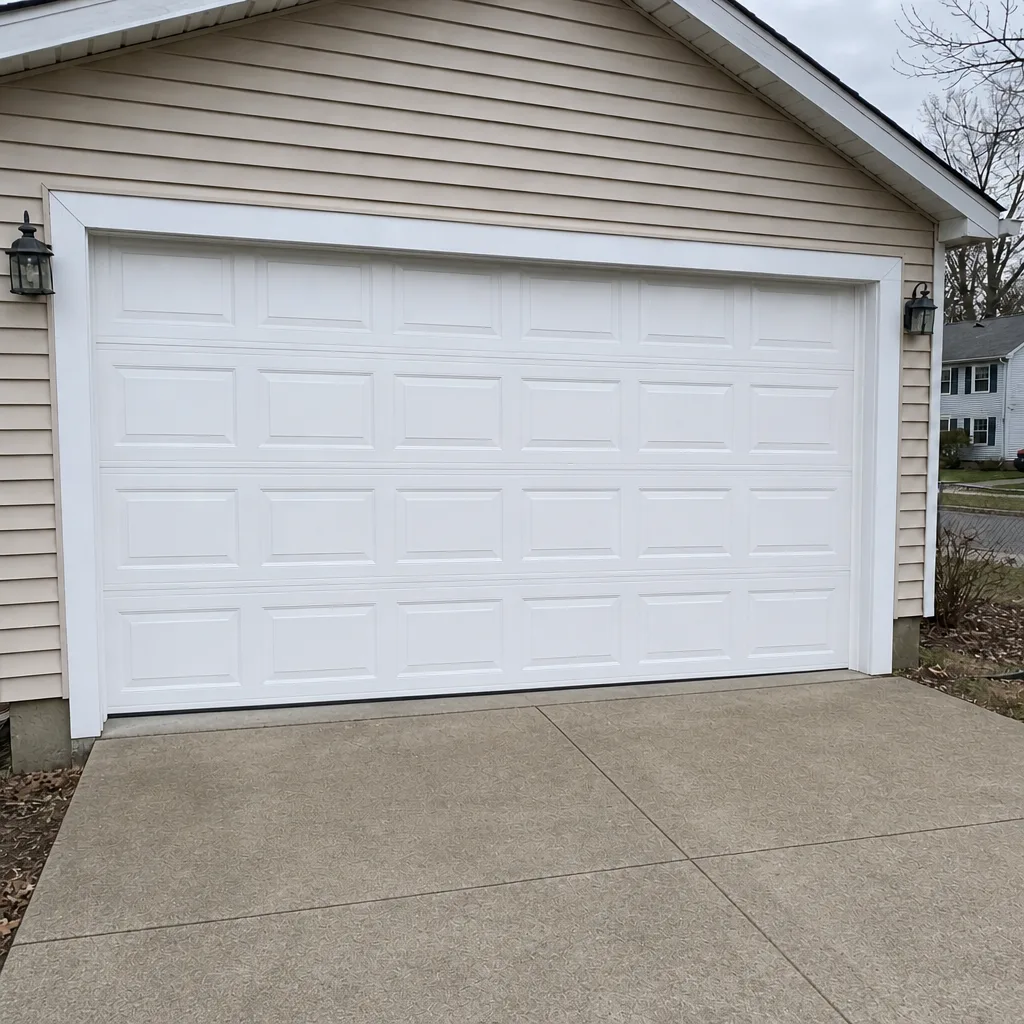 After
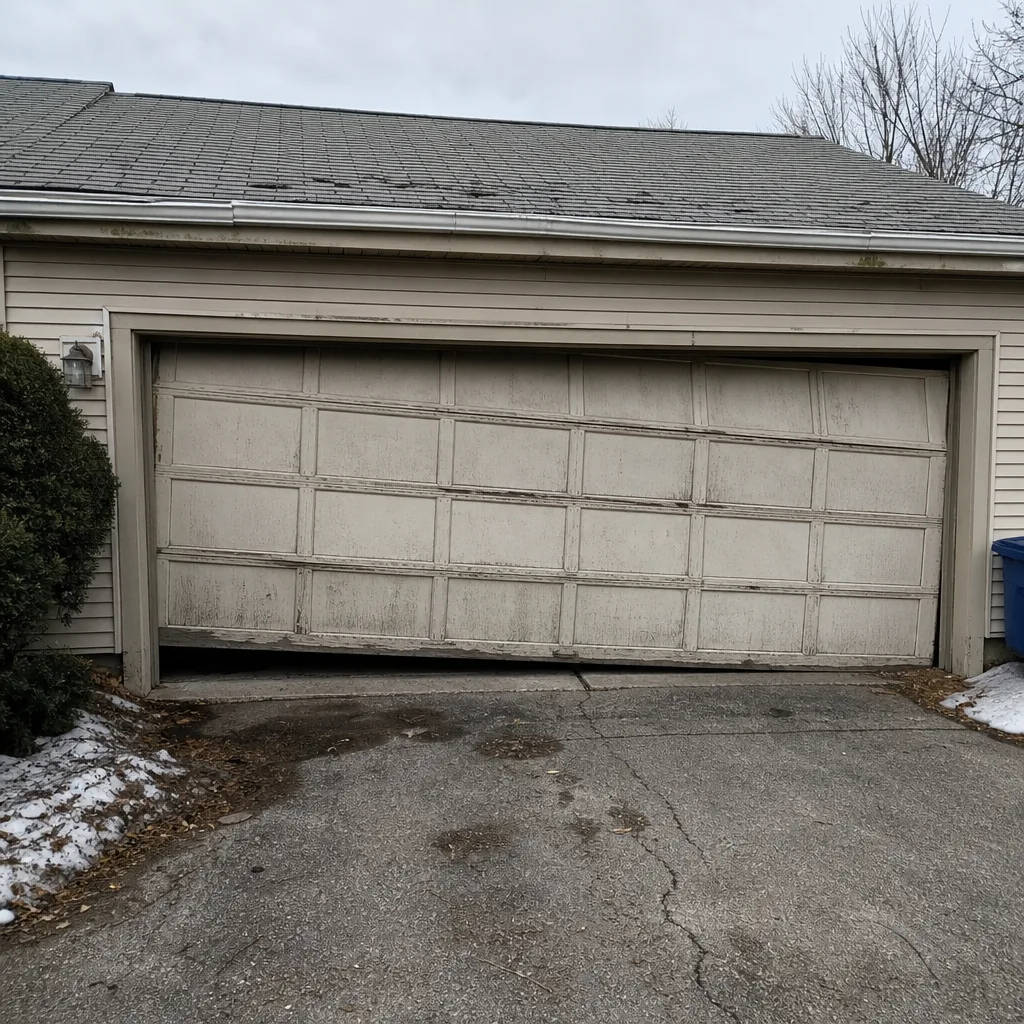 Before
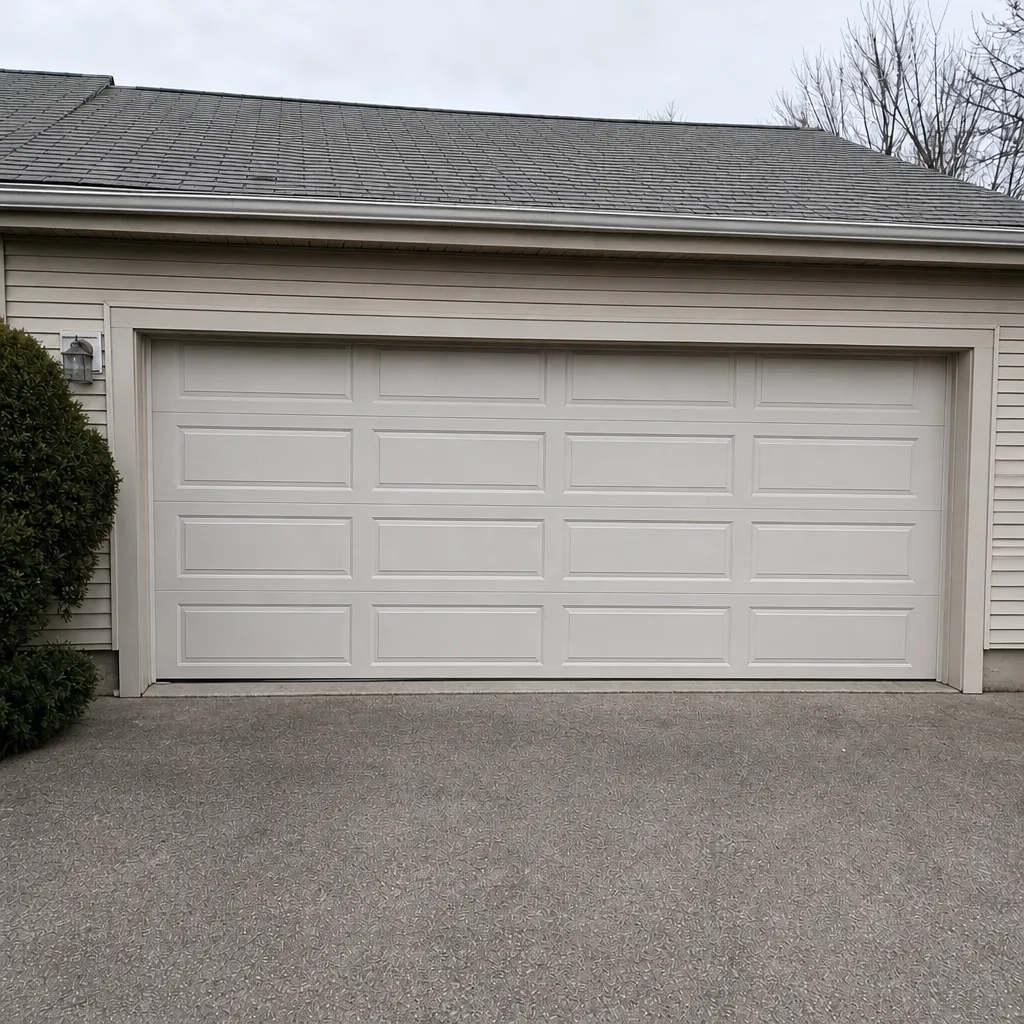 After
When to Call a Professional
Some maintenance is genuinely yours to do: clean the tracks, lubricate the moving metal parts, test the auto-reverse, and inspect the seals. Everything beyond that, and anything involving springs, cables, or the opener’s internal electronics, belongs to a trained technician. Call us when the door won’t open or close, when you see a visible gap in the springs, when the door drifts more than a foot during the balance test, when the auto-reverse fails, when the opener stalls or reverses on its own, or when you’ve heard the same noise for more than two weeks. Our Framingham Garage Door Repair team works on every major brand and handles spring repair, opener repair, and full door replacement under one call. Framingham Garage Door Repair offers free estimates in Framingham and throughout the surrounding area – call (844) 443-3741. We answer 24/7. Fast dispatch from 7am to 7pm, Sunday through Friday.
Frequently Asked Questions
Once a year for a professional service, and monthly for the homeowner’s visual checks. The fall inspection is the important one in Framingham – before the first hard freeze is the best time to catch problems, because that’s when seals, cables, and springs do their most damage. If you lubricate and test the door yourself, a professional inspection every one to two years is usually enough.
A door that feels noticeably heavier when lifted by hand, or one that drifts down after you stop it halfway, is the most reliable sign of a failing spring. A small visible gap in the coil is the other. If you see either, stop using the door and call for a professional inspection. Don’t touch the spring yourself – the tension in a spring under load is dangerous.
You can, and it’s one of the most useful things you can do as a homeowner – as long as you use the right product. Silicone spray on the rollers, hinges, and spring coils is safe and effective. Stay away from petroleum-based sprays in the winter, and never grease the tracks. If you’re not sure what to use, a technician can walk you through it during a service visit.
Cold thickens the lubricant and stiffens the door’s rubber components, and the freeze-thaw cycle leaves grit in the tracks. A door that was quiet in October often develops a rumble or scrape by December. Cleaning the tracks and applying silicone lubricant before the first freeze prevents most of it. If the noise continues after you lubricate, a worn roller or a failing hinge is the likely cause.
Yes – it affects which parts fit and which opener accessories work. Our technicians work on LiftMaster, Chamberlain, Genie, Clopay, Amarr, Wayne Dalton, Craftsman, and Raynor, and they’re familiar with how each brand’s springs, seals, and opener electronics are set up. When you call, tell us the brand and model from the tag on the door, and we’ll bring the right parts for the first visit.
On some older steel doors, it’s a homeowner-level job – the seal sits in a channel that slides out. On most modern doors, particularly the insulated models common on newer Framingham homes, the seal is held in a T-channel that requires the door to be positioned precisely and the retainers to be handled carefully. Have it done by a technician. It’s a small repair, and having it done right means the seal lasts through a full winter.
The Bottom Line
Your garage door is your home’s largest moving part, and it’s the one entry point most families use daily. The maintenance it needs is simple: inspect the seals, cables, rollers, and springs in that order every month; lubricate the moving metal parts with silicone twice a year, before the first freeze and after the last thaw; test the safety features every season; and photograph what you see so a technician can diagnose faster. The two-month noise you ignore is the repair you pay for later. Catch it in Framingham’s climate, where the freeze-thaw cycle does the most damage, and the fix stays small. Skip it, and it compounds. One call covers it – repair, opener, springs, or a full new door.
Call (844) 443-3741 for a free estimate. We answer 24/7. Fast dispatch from 7am to 7pm, Sunday through Friday. Whether you need a routine spring inspection, an opener repair on a Chamberlain or Genie system, or a full replacement door, we’ll walk you through the options and quote the work before anything starts. A written estimate sets the final price, and the estimate itself is free.
Written by the team at Framingham Garage Door Repair.