
Last updated November 22, 2026
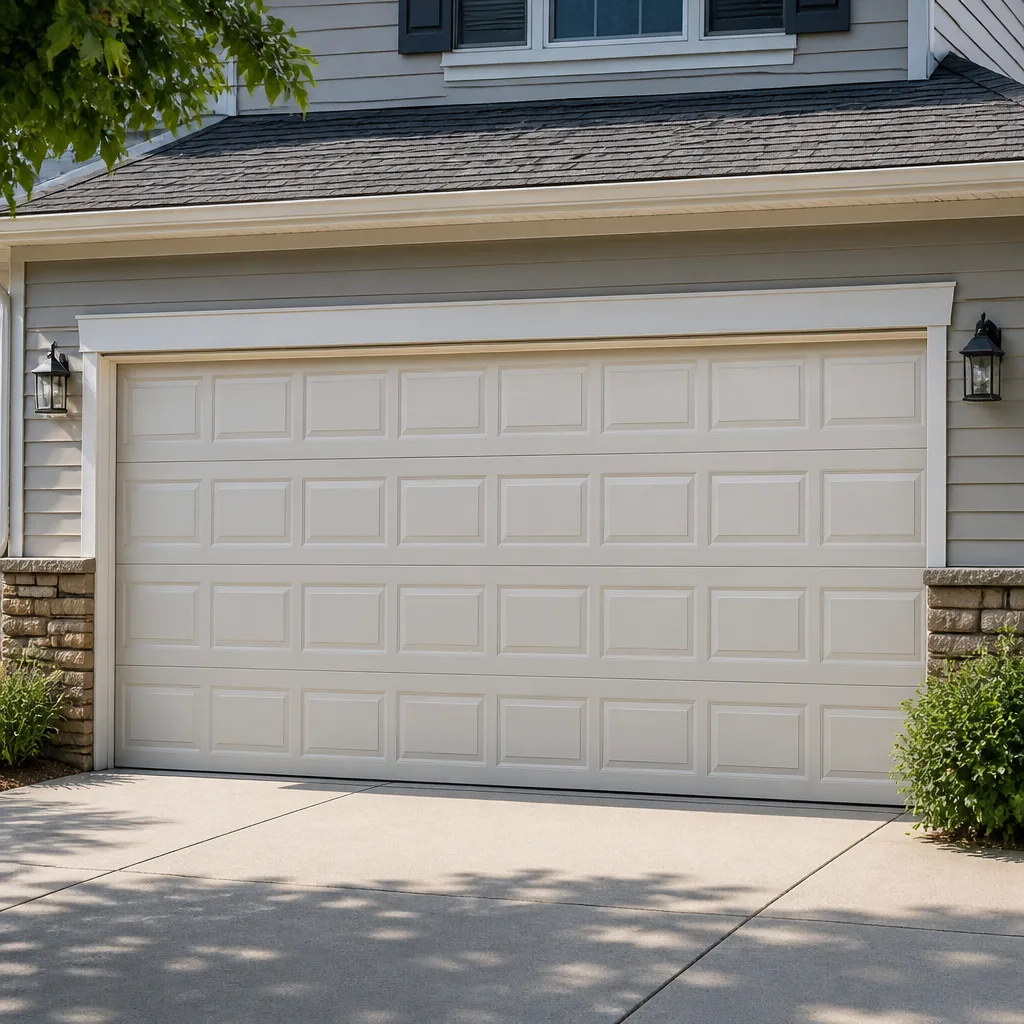 Raised-panel steel
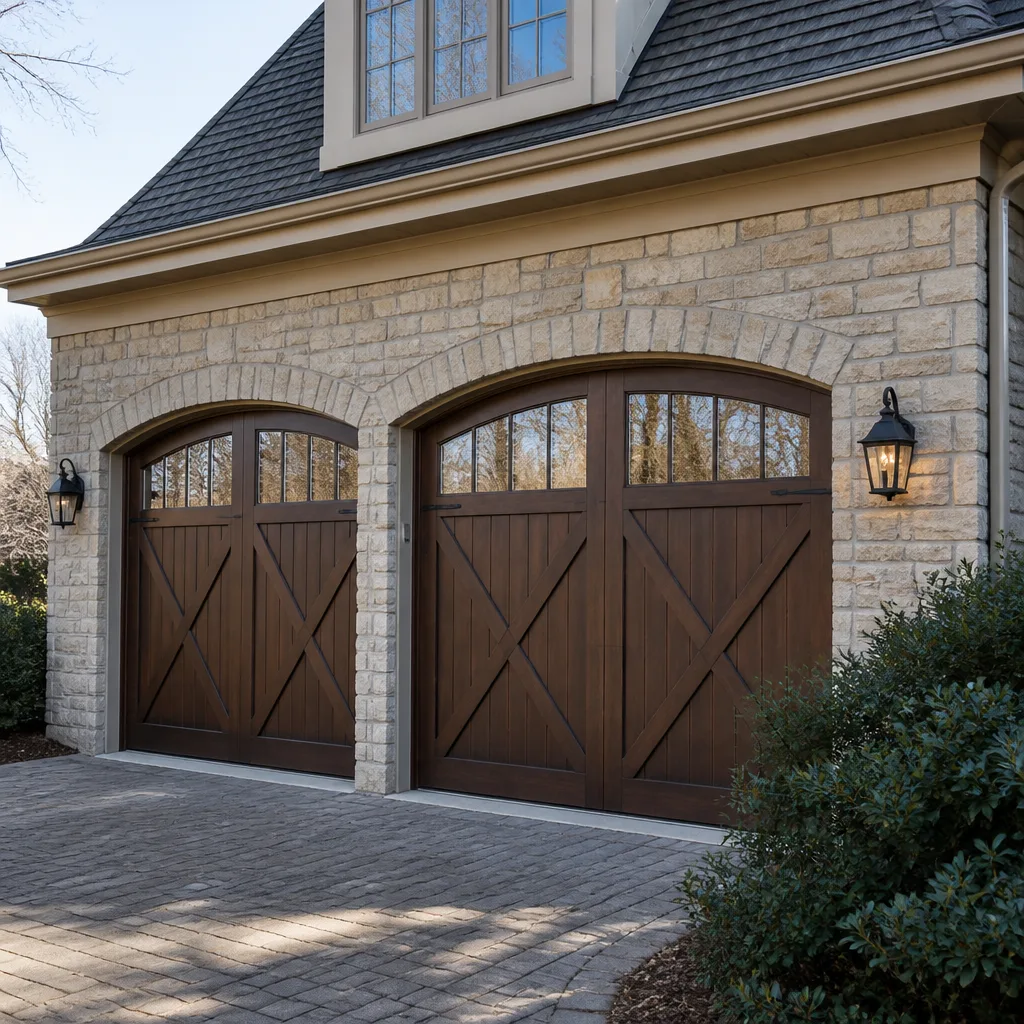 Carriage house
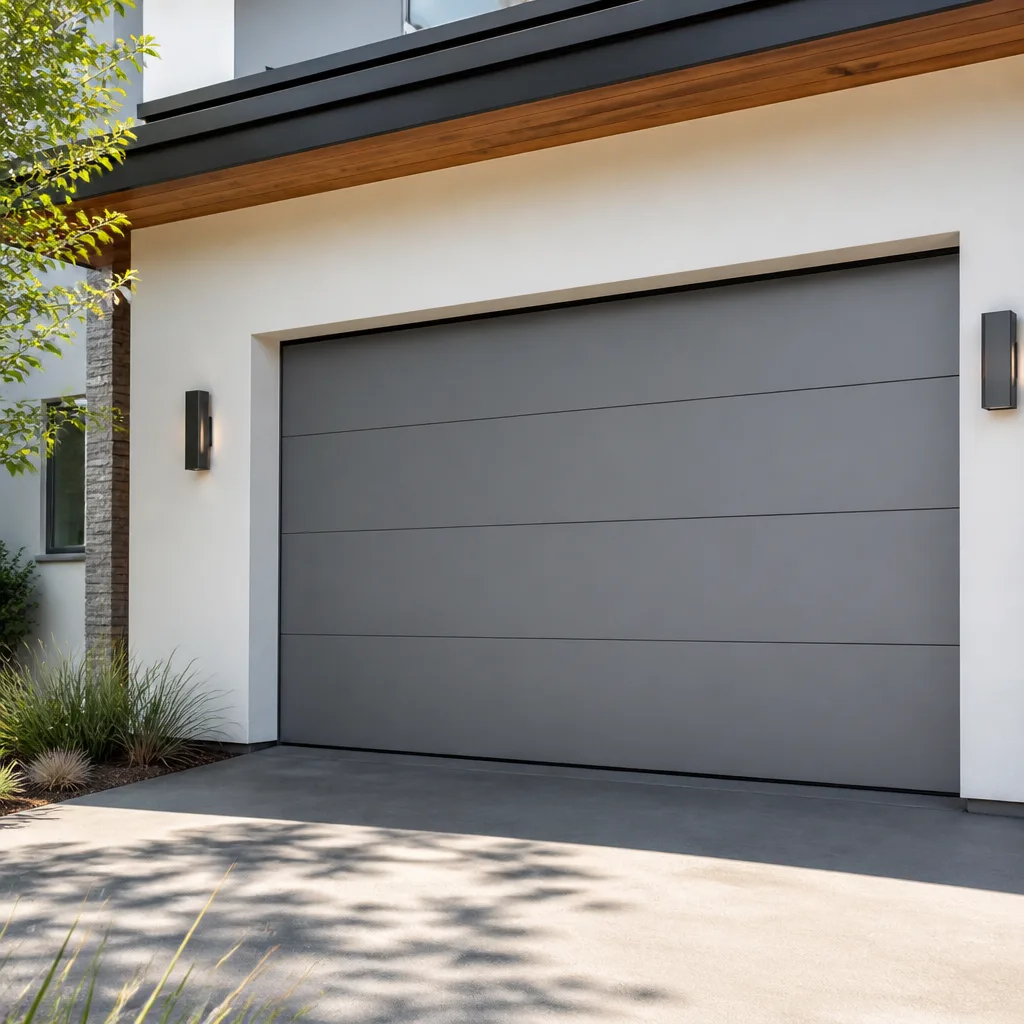 Modern flush
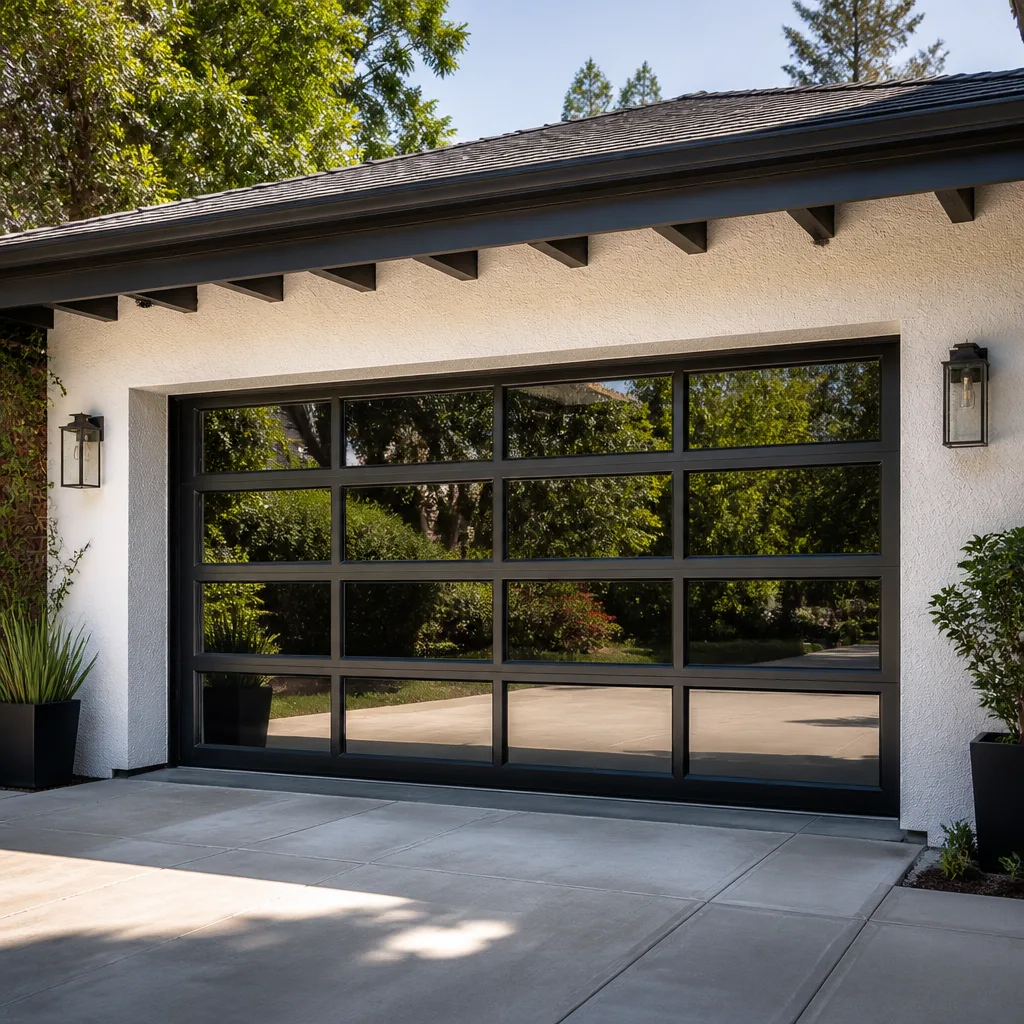 Full-view glass
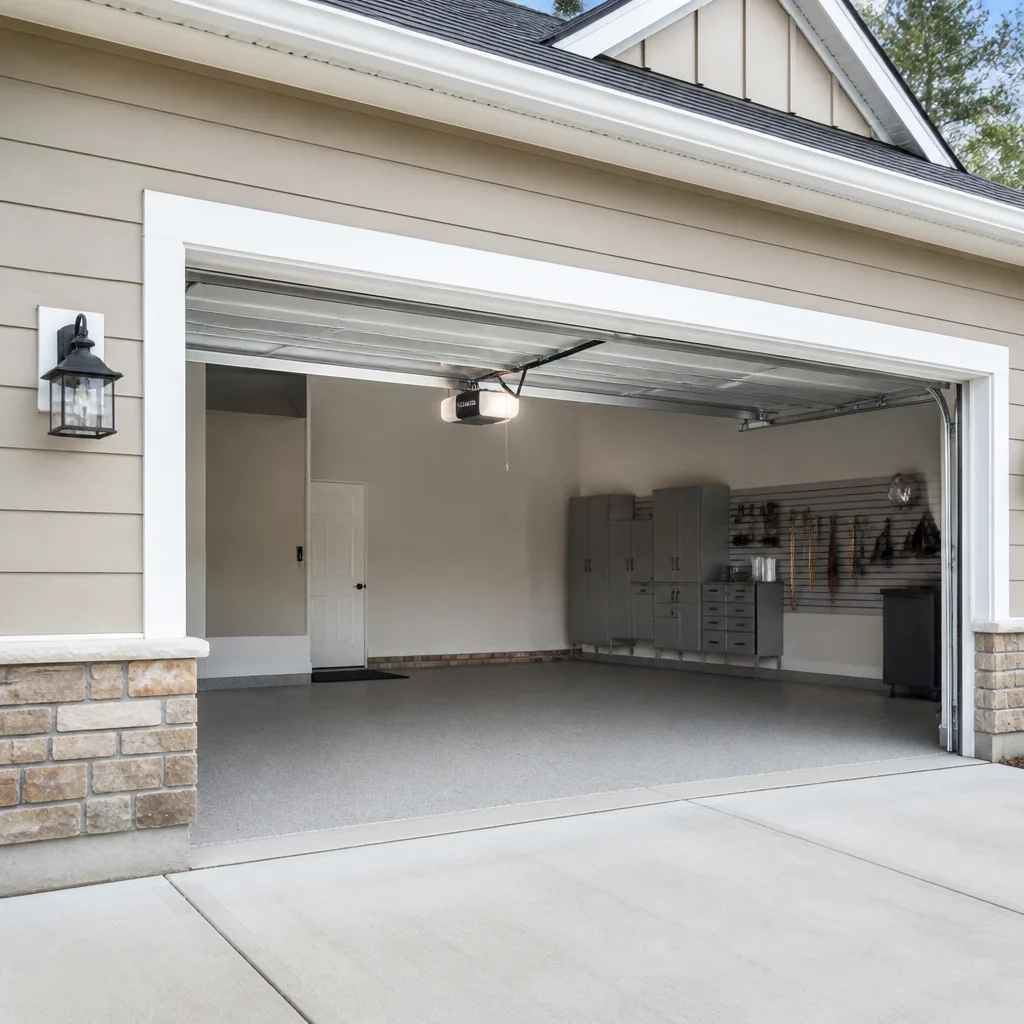 LiftMaster openers
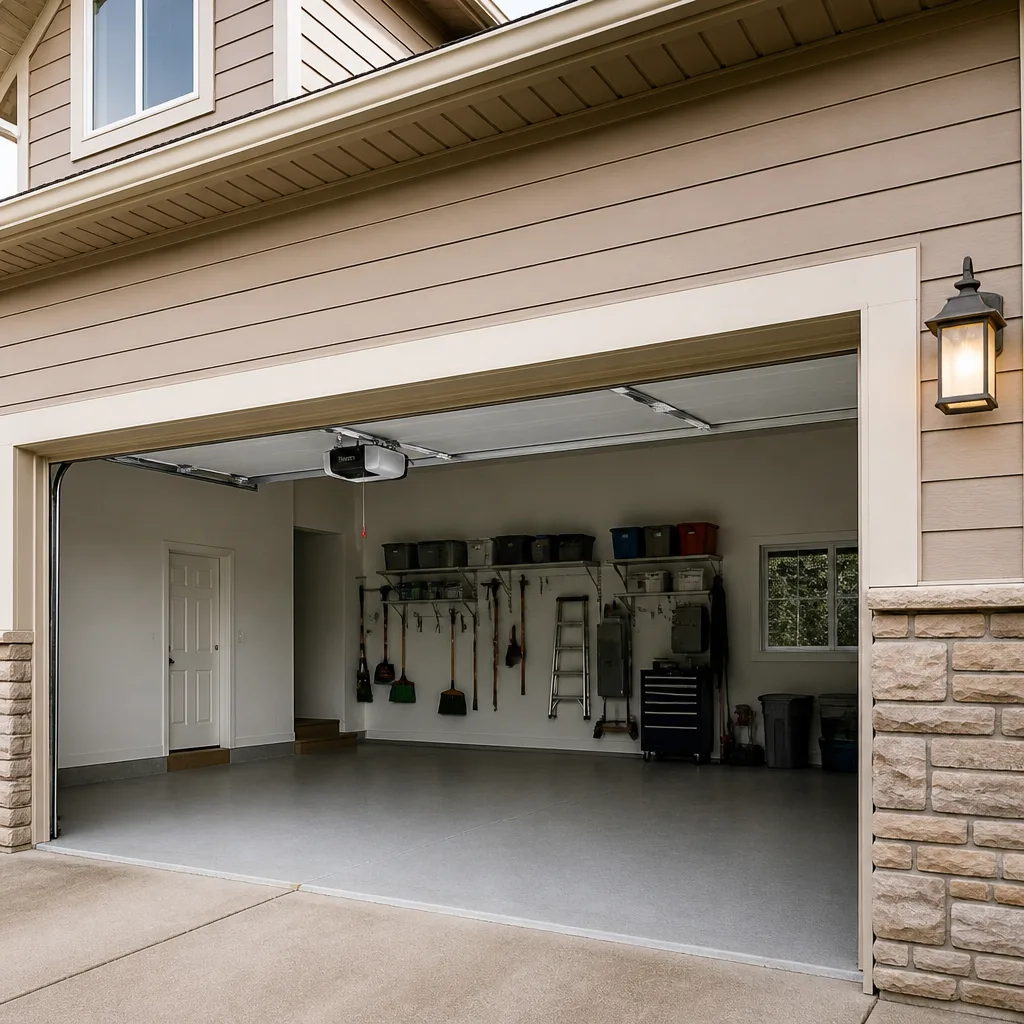 Chamberlain openers
Full 25-point door and opener safety check with every visit - springs, cables, rollers, tracks, and your LiftMaster or Chamberlain opener included
You get a price before we start. It does not change when the pro arrives.
Get your free estimateDIY vs Professional Garage Door: The Framingham Homeowner’s Decision Guide
Most arguments about DIY garage door work miss the actual point. The question isn’t whether you’re handy enough. It’s whether the specific part you’re touching stores enough energy to hurt you when it lets go. A wound torsion spring holds roughly 100 ft-lbs of torque; when it fails under load, it snaps like a gunshot rather than bending. That single fact takes the whole spring system off the DIY table, no debate. Everything else on your door can be evaluated with a clear head. This guide gives Framingham homeowners that decision framework, task by task, so you know exactly where the line sits and what’s safe on your side of it.
Quick Answer
Torsion springs, high-tension cables, and bottom brackets are never DIY jobs, full stop, because they hold stored mechanical energy that can cause serious injury when released. Weatherstripping, lubrication, photo-eye alignment, and remote reprogramming are all reasonable DIY tasks with the right tools and a little patience. Anything in between, or any repair on a door that’s off its track or won’t balance, is a job for a trained technician. In Framingham, the practical split comes down to whether the work touches the spring system or just the door’s surface hardware.
Styles & brands we work with
- Raised-panel steel
- Carriage house
- Modern flush
- Full-view glass
- LiftMaster openers
- Chamberlain openers
Table of Contents
- The Definitive No-DIY List (and Why)
- What Framingham Homeowners Can Safely Do Themselves
- The YouTube Confidence Gap
- Cost-to-Risk Matrix: Every DIY-Eligible Task
- When a Professional Install Is Actually Required by Warranty
- When to Call a Professional
- Common Garage Door Mistakes to Avoid
- Frequently Asked Questions
The Definitive No-DIY List (and Why)
These three components are where garage door injuries actually happen, and the reason is mechanical, not cautionary. Each one stores or transmits force far beyond what a person can safely control if something slips. We’ve seen what a released torsion spring does to a garage in Framingham, and it isn’t a bent panel; it’s a hole in the drywall and a door that’s now a hazard. Here’s the list, and the physics behind each entry.
- Torsion springs. A torsion spring is wound tight to counterbalance the entire weight of your door, often 150 to 250 pounds. When it’s under load it stores roughly 100 ft-lbs of torque. If it releases while you’re near it, the stored energy converts to a whipping motion in a fraction of a second. There’s no safe way to wind one by hand without specialized winding bars, and even with them, the timing and tension are unforgiving.
- High-tension cables. These cables run from the bottom corner of your door up to the drum and hold the door’s full weight in tension. They’re under hundreds of pounds of load every second the door exists. A frayed or snapped cable can lash out with enough force to cut through skin and bone. Cables are replaced, never adjusted by a homeowner, and they always get replaced as a pair or as part of a system.
- Bottom brackets. The bottom bracket is where the cable attaches to the door and where it transitions from tension to structure. Releasing or tightening a bottom bracket without first relieving the spring tension is a classic injury scenario. The bracket itself is under tension from the cable, so loosening a bolt while the system is live can turn the whole assembly into a projectile.
Note what these have in common: they are all parts that hold stored energy even when the door is down. Aesthetic repairs and sensor alignment don’t have that property. That’s the line. If the part you’re touching could spring back or lash out, leave it to a trained technician. Our garage door repair work always starts with relieving that tension before anything else gets touched.
Why the Spring System Is Categorically Different
Homeowners sometimes ask whether they can “just replace one spring” or “just tighten it a little.” The answer is no, and it’s not about skill. It’s that a torsion spring is a precision-balanced component: the turns matter, the wire diameter matters, and the weight of the door determines which spring you need. Get the turns wrong and the door is either too heavy to open or slams shut. Get the wire wrong and the spring fails early or under load. This is why spring repair is offered as its own specialty; it’s a specific training, not a general handyman skill.
What Framingham Homeowners Can Safely Do Themselves
Plenty of your door’s upkeep is well within reach, and doing it yourself saves money and downtime. The four tasks below are the realistic DIY set for most Framingham homes. None of them touch the spring system, the cables, or the bottom brackets. Each is a surface-level or electronic job with clear failure modes that won’t hurt you.
- Weatherstripping replacement. The rubber or vinyl seal along the bottom of the door and the sides keeps cold air, water, and insects out. It slides into a channel or attaches with a few screws. A box of replacement seal and a utility knife covers most doors. This matters more in Framingham’s cold, wet winters than in a mild climate, because a worn seal lets meltwater and slush into the joint where your door meets the floor.
- Lubrication. Hinges, rollers, and the track benefit from a silicone-based lubricant, not WD-40 (which is a solvent, not a lubricant, and attracts dust). Two or three times a year is plenty. Spray the hinges at the pivot points, the roller stems, and the track lightly. Wipe off drips. This is the single cheapest thing you can do to extend roller life.
- Photo-eye alignment. The two small sensors at the bottom of your track exist to reverse a closing door if something crosses the beam. If the door won’t close and the light is blinking, the eyes are probably out of line. A gentle nudge to square them up, and a wipe with a dry cloth, fixes most of these. Never tape over, bypass, or otherwise defeat the eyes.
- Remote and keypad reprogramming. Lost a remote, changed a keypad code, or moved into a new Framingham house with an old opener? Reprogramming is usually a matter of pressing the learn button on the opener and following a sequence. The manual or the opener brand’s model number gets you the exact steps. Our garage door opener repair page covers the models most Framingham homes have.
Each of these can be done in an afternoon with basic hand tools and no specialized knowledge. None of them require you to relieve tension or handle a loaded component.
The YouTube Confidence Gap
Here’s a pattern worth naming. A homeowner watches a fifteen-minute video on spring replacement, feels confident, and orders a pair of springs. Then the door comes apart and the video’s careful camera angle means they never saw the step where the technician uses a winding bar to keep the spring from releasing, or the part where the technician checks the door’s balance before winding the new spring. That’s not a failure of the video; it’s the liability problem. Instructional videos skip the steps that get the presenter in trouble if a viewer copies them.
In our experience, the specific steps that get cut from garage door instructional content are the ones that matter most:
- The tension-relief procedure before a spring or cable is touched.
- How to check door balance and why it must happen before winding a new spring.
- Choosing the right spring by wire gauge, inside diameter, and door weight, not just by length.
- The difference between left-wound and right-wound springs and what happens if you mix them up.
- What to do when a winding bar slips or a spring fails mid-procedure (the emergency response, not the normal one).
These are the moments where a trained technician’s experience actually matters. A Framingham homeowner can absolutely learn weatherstripping from a video and do it well. But the gap between “watch a video” and “safely complete the repair” widens dramatically the closer you get to the spring system. That’s the confidence gap: video makes the easy tasks look easy and the dangerous tasks look easier than they are. If a video skips a step, that’s the tell.
Cost-to-Risk Matrix: Every DIY-Eligible Task
The point of a cost-to-risk matrix is to look at more than the price tag. For each task, the real question is: what does it cost in time and materials to do it yourself, and what happens if it goes wrong? The tasks below are the ones we’d comfortably put in the DIY column. Everything that handles torsion springs, cables, or bottom brackets is not on this list because the consequence of failure isn’t a cost; it’s an injury.
Weatherstripping
Time: 1 to 2 hours for a typical one-car or two-car door. Tools: utility knife, screwdriver, measuring tape, replacement seal. Consequence of getting it wrong: a gap that lets water in, or a seal that binds against the door and strains the opener. Both are annoying but fixable. A poor seal in Framingham’s climate means ice at the threshold in winter and water in the joint in spring.
Lubrication
Time: 15 to 20 minutes. Tools: silicone spray lubricant and a rag. Consequence of getting it wrong: over-spray attracts dust, which gums up rollers faster than no lubricant at all. Skip WD-40 on the tracks; it leaves a residue that collects grit.
Photo-Eye Alignment
Time: 10 to 15 minutes. Tools: none, or a screwdriver to loosen a bracket. Consequence of getting it wrong: the door won’t close, or closes on something it shouldn’t. If the eyes won’t hold alignment after a few tries, the bracket or wiring is likely the issue, and that’s a technician call.
Remote Reprogramming
Time: 5 to 10 minutes. Tools: none beyond the remote and the opener manual. Consequence of getting it wrong: the remote doesn’t work, or in a rare case, an old code stays paired. If the opener’s learn button doesn’t respond, the logic board may be the problem, which is a repair.
If you look at the matrix, the DIY tasks cluster at the low-consequence end. The tasks where getting it wrong means an injury, a door off its track, or a car stuck in the garage are not on this list. That distribution isn’t a coincidence; it’s the same mechanical line we drew in the no-DIY section above.
When a Professional Install Is Actually Required by Warranty
A lot of Framingham homeowners assume they can install a new door themselves and save the labor, then discover the manufacturer’s warranty doesn’t cover a DIY install. Clopay, Amarr, and Wayne Dalton, three of the brands sold and installed in Framingham, all publish warranty terms that require professional installation for the coverage to apply. That doesn’t mean the door is defective if you install it yourself; it means if the panel cracks, the finish fails, or the hardware wears out early, the warranty claim gets denied because the install wasn’t done by a professional installer.
Read the spec sheet or the warranty document that ships with the door before you buy it, and note the install requirement. If the warranty requires a professional install, the calculation changes: the labor isn’t just convenience, it’s the thing that keeps the coverage alive. A single panel replacement or a failed finish can cost more than the install labor you thought you were saving.
What “Professional Install” Actually Means Here
On most new-door warranties, “professional install” means installation by a trained installer, not necessarily by the manufacturer’s own crew. The company that installs the door matters less than the fact that it’s a trained installer and that the install follows the manufacturer’s specifications. Our garage door installation work follows those spec sheets for the brands we’re familiar with, and that’s the difference between an install that protects the warranty and one that voids it.
When to Call a Professional
Some situations put you squarely in professional territory, and it’s worth knowing the list before you pick up a wrench. Anything touching a torsion spring, a cable, or a bottom bracket is a call. A door that’s off its track, hanging crooked, or won’t balance at the halfway point is a call, because the fix usually involves releasing tension to re-seat the door. A door that’s been hit, has a bent panel, or has a broken hinge is often a call, because the panel and hinge replacement can affect the balance. And any time the opener is making a grinding noise or the door reverses unexpectedly, that’s worth having a trained technician look at it.
A note on emergency work: if a spring has broken and the door won’t lift, or the door won’t close and your home isn’t secure, emergency garage door service exists for exactly that. We answer 24/7. Fast dispatch from 7am to 7pm, Sunday through Friday, and a call outside dispatch hours is booked into the next opening. For a standard (non-emergency) repair or a full new door, the timeline is measured and scheduled rather than same-day, because panels and springs are ordered to spec. Framingham Garage Door Repair offers free estimates, and the written estimate sets the price before any work starts. Call (844) 443-3741 for a quote.
Common Garage Door Mistakes to Avoid
- Assuming the door’s weight doesn’t matter. A door that weighs 200 pounds needs a spring balanced for that weight. A homeowner who replaces a spring with “the same length” the hardware store had, without checking the wire gauge and door weight, ends up with a door that won’t stay up or slams shut.
- Using WD-40 on the tracks. It’s a solvent, not a lubricant, and it leaves a film that collects grit. Use silicone lubricant on the hinges, rollers, and stems, not the tracks themselves.
- Ignoring a door that’s out of balance. Try this test: open the door halfway and let go. A balanced door stays put. A door that drifts down needs a spring adjustment, which is a technician task, not a homeowner one.
- Forcing a door that’s off its track. Pushing a door back onto the track while it’s under spring tension can twist the panel or snap a cable. Stop and call.
- Disabling the photo eyes to get the door to close. Taping over, unplugging, or bypassing the eyes defeats the door’s only safety feature for people and pets. Fix the alignment or call for a repair.
- Buying a new door and installing it without checking the warranty terms. As noted above, Clopay, Amarr, and Wayne Dalton warranties generally require professional installation. Framingham homeowners who install a warranted door themselves can lose coverage on a single failed component.
- Waiting too long on a noisy opener. A grinding or straining opener is usually telling you something about the door’s balance or the opener’s gear, not the opener’s motor. Fixing the door often fixes the opener, and ignoring both leads to a bigger repair.
Frequently Asked Questions
No, a torsion spring replacement is not a safe DIY job, and the reason is mechanical rather than a matter of skill. The spring stores roughly 100 ft-lbs of torque when wound, and if it releases under load it can cause serious injury. Trained technicians use winding bars and a specific sequence to relieve and re-apply tension safely. For a spring replacement in Framingham, the smart call is to a specialist who handles this every day.
Weatherstripping replacement, lubrication with a silicone spray, photo-eye alignment, and remote or keypad reprogramming are all reasonable DIY tasks. None of them touch the spring, cable, or bottom bracket systems. A few hours and basic hand tools cover each one, and none of them can put you in harm’s way if you take your time.
On Clopay, Amarr, and Wayne Dalton doors, the warranty generally requires professional installation for coverage to apply, so a DIY install can void the warranty. Read the warranty document that ships with the door before you buy. If the door isn’t a warranted brand, the terms may differ, but it’s still worth knowing what the manufacturer requires before you commit.
Often, yes. A noisy door is usually telling you something about the balance or the rollers, and a trained technician can diagnose which in a short visit. Lubrication and weatherstripping are yours to handle, but a grinding opener or a door that shudders on the way down is worth a professional look before the noise turns into a repair.
If the emergency involves a broken spring, a snapped cable, or a door that’s off track, no. Those are the situations where a trained technician should be doing the work. If the door won’t close and the home isn’t secure, that’s what our emergency service is for. We answer 24/7. Fast dispatch from 7am to 7pm, Sunday through Friday, and a call outside dispatch hours is booked into the next opening.
The local professionals we connect you with are licensed and insured as their state requires. That’s a baseline for a job that involves stored mechanical energy, and it’s the first thing to check if you’re considering a company you haven’t worked with before. We hold that standard for every Framingham job, whether it’s a spring, a cable, or a full door install.
See the difference
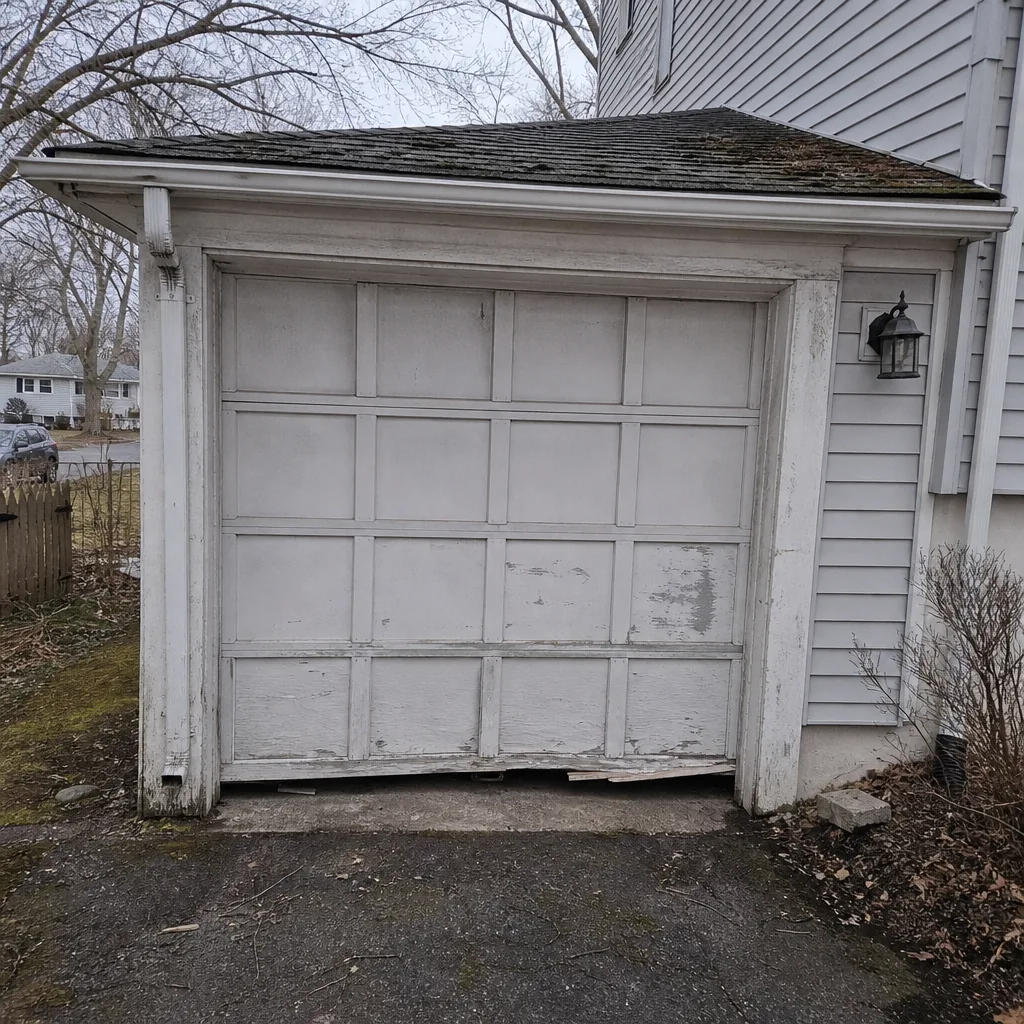 Before
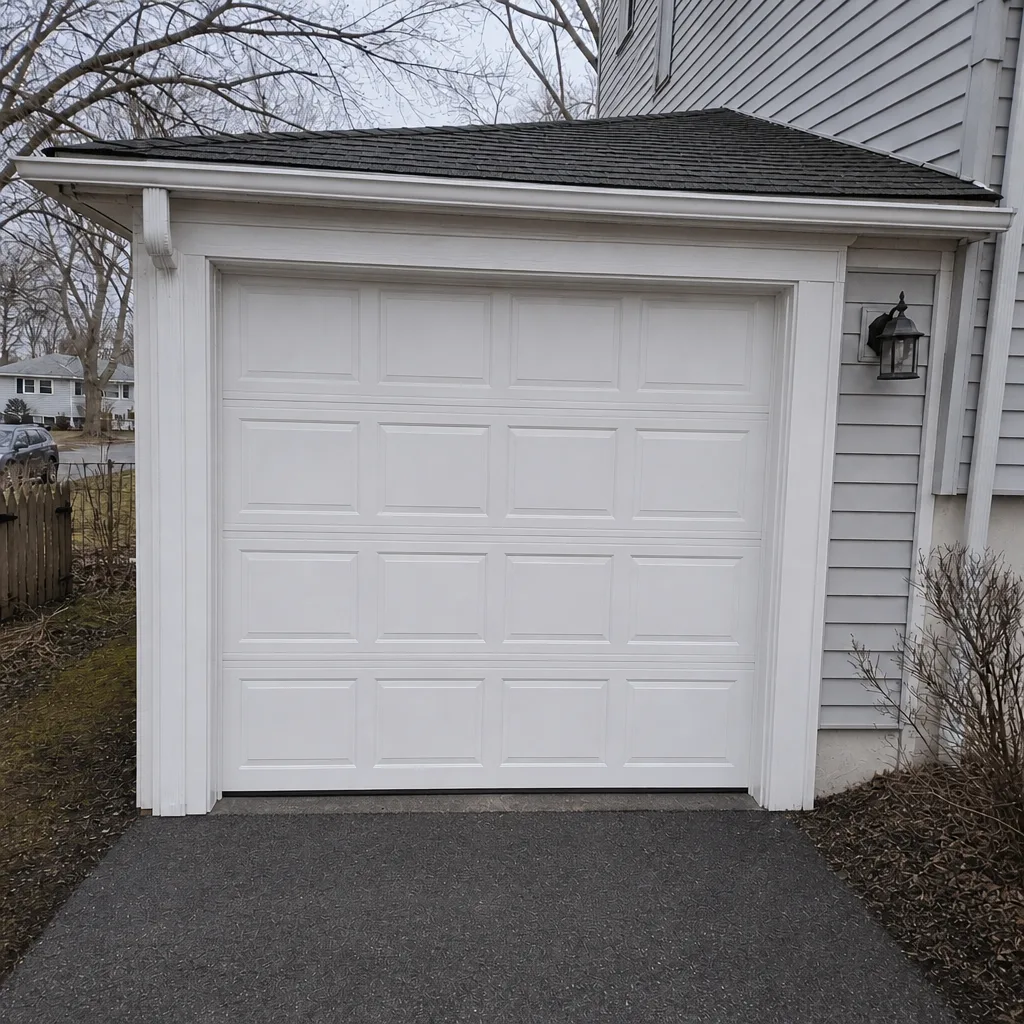 After
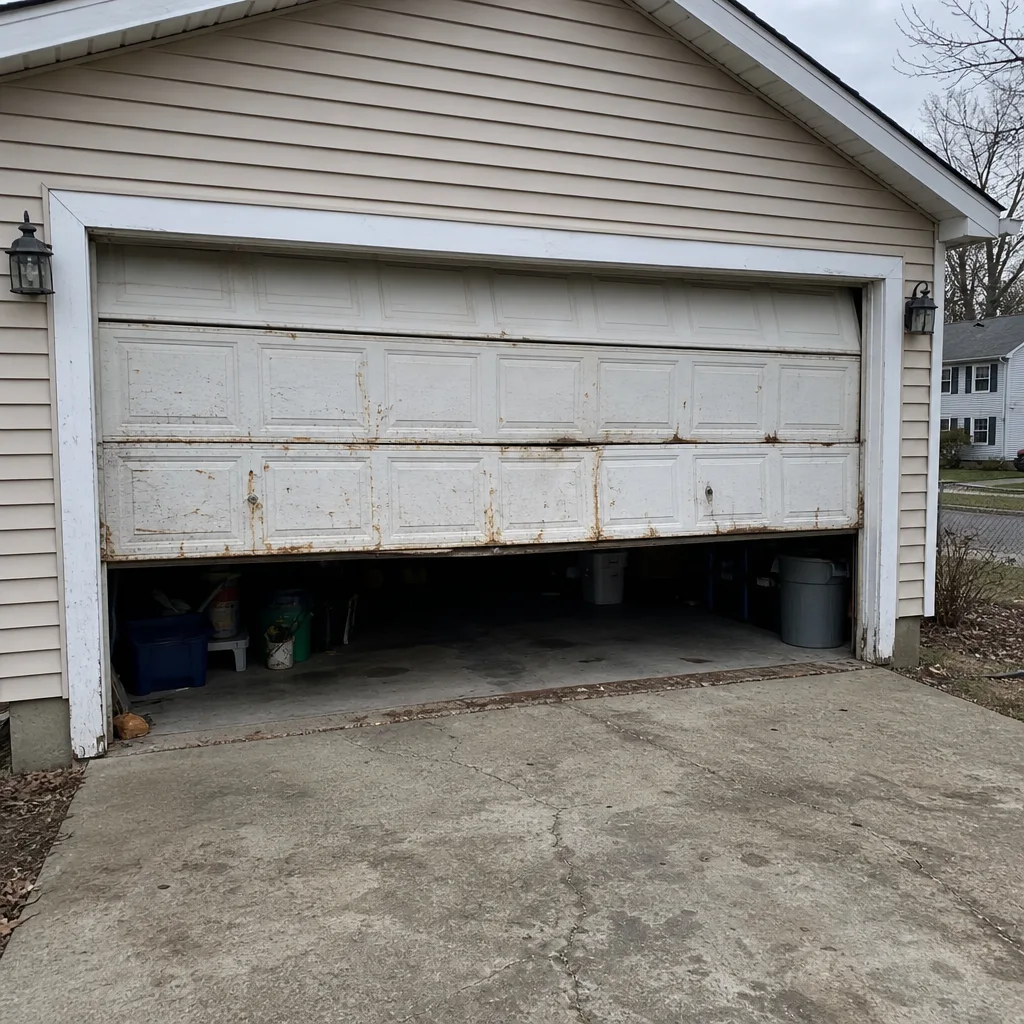 Before
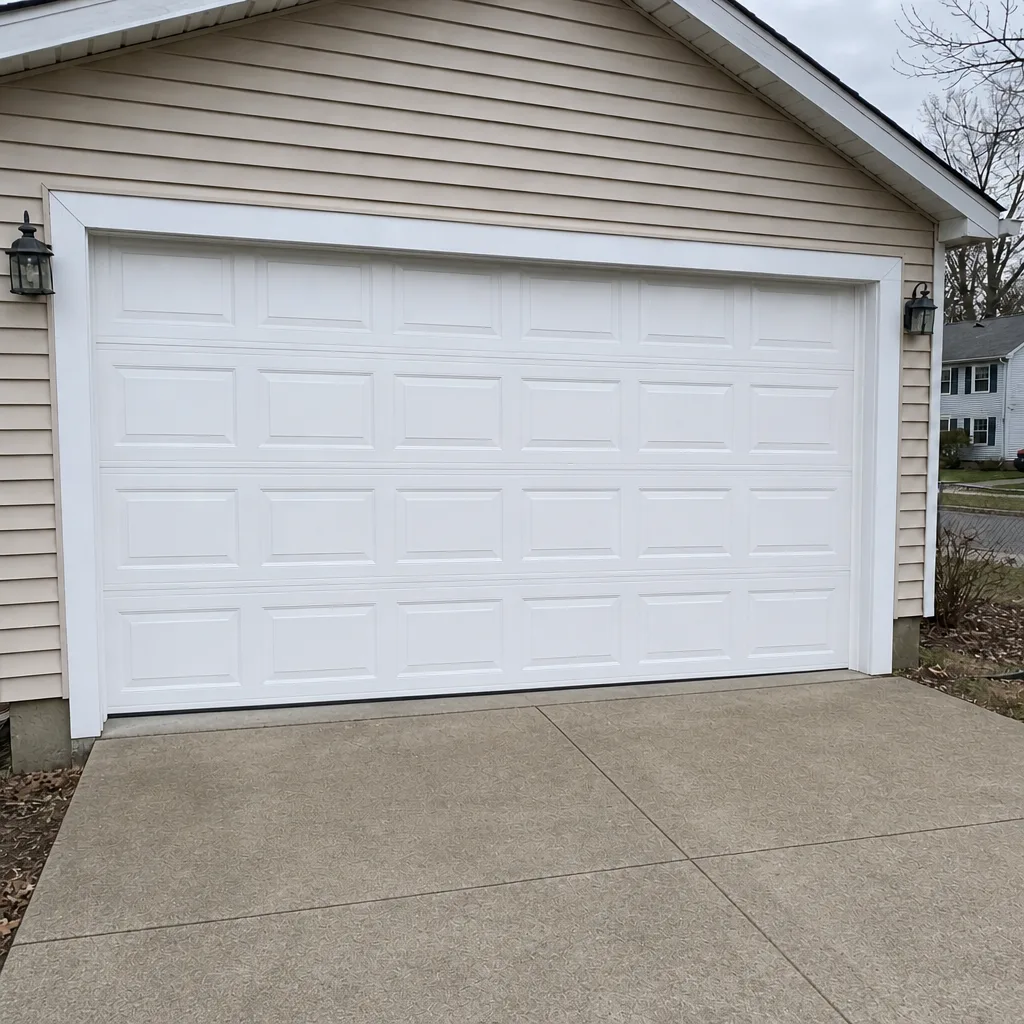 After
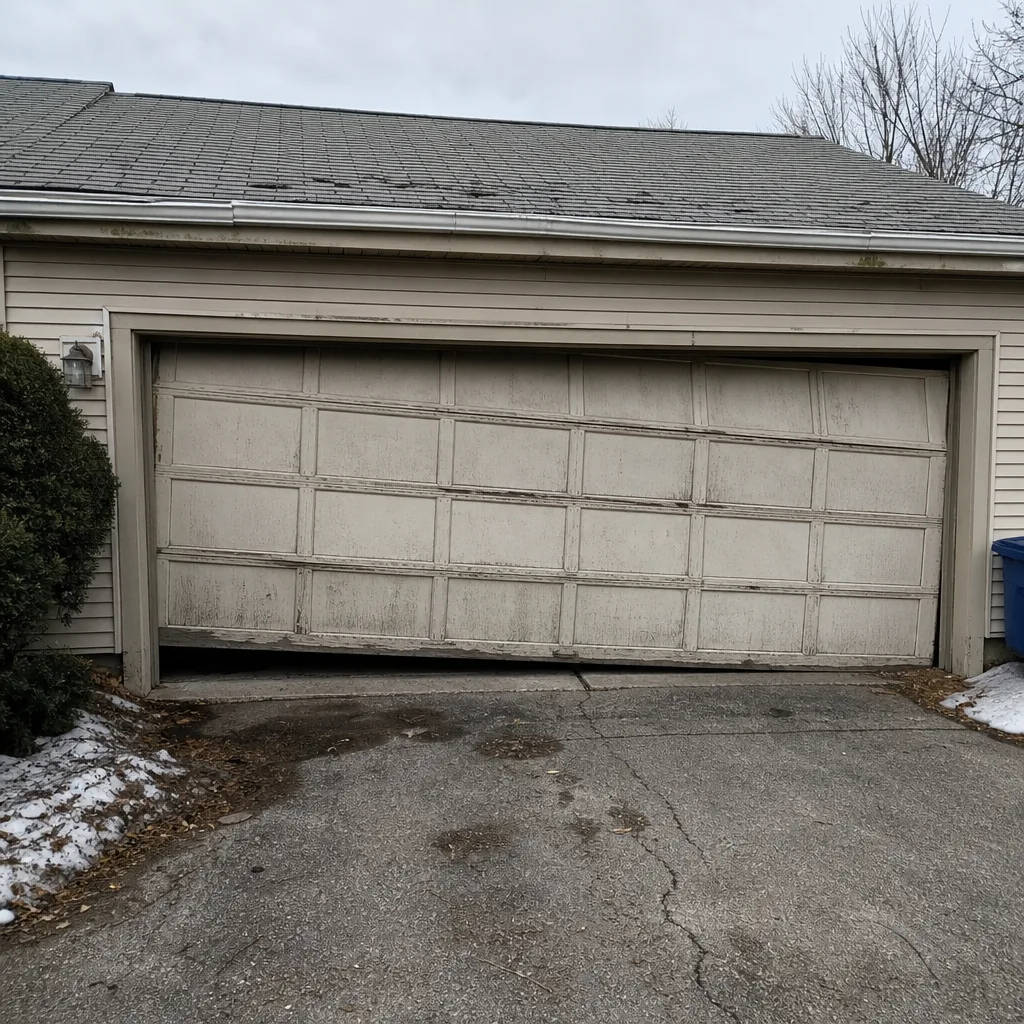 Before
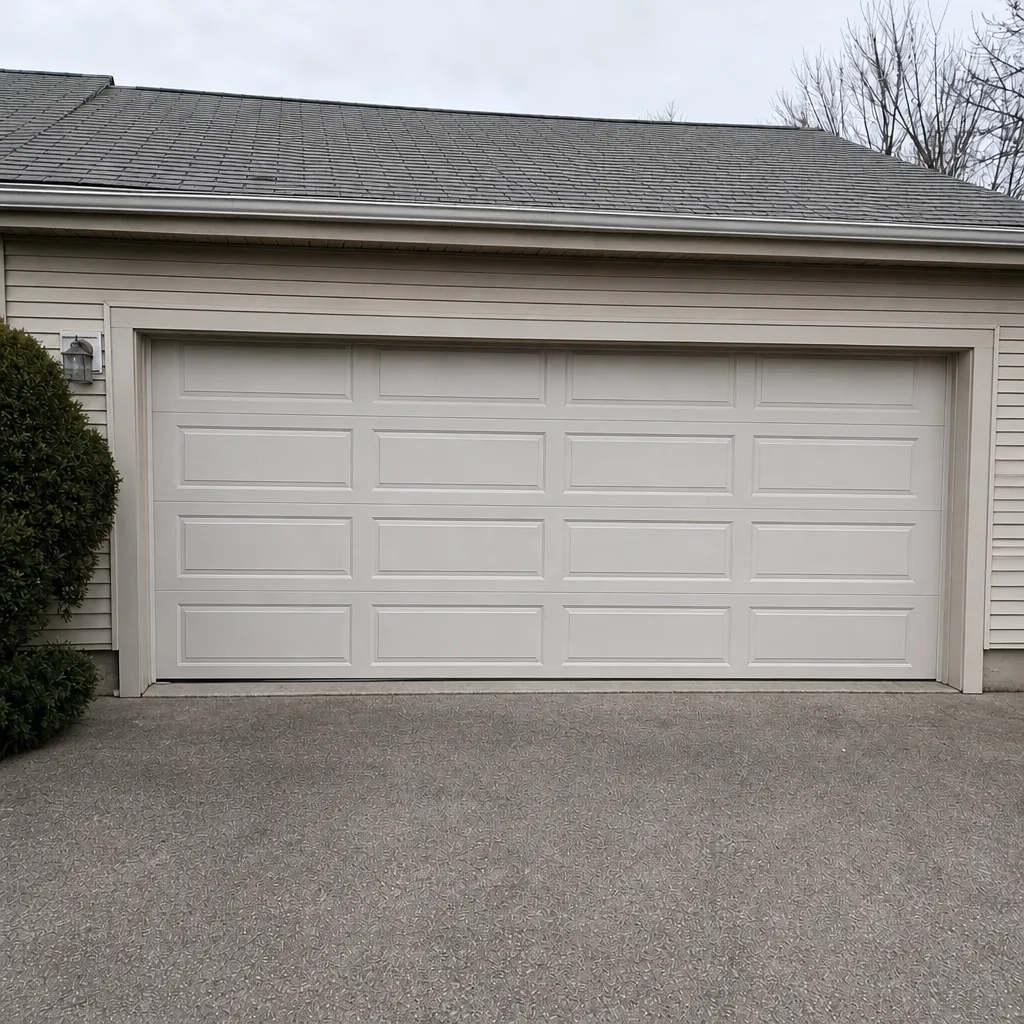 After
The Bottom Line
The garage door DIY question has a clear answer once you draw the mechanical line. Torsion springs, high-tension cables, and bottom brackets are off the table; the forces they hold are not something a homeowner should try to manage, and the physics is unforgiving. Everything else can be evaluated on a cost-to-risk basis, and most of the surface-level tasks are worth doing yourself. The in-between cases, door balance, off-track situations, warranty-relevant installs, and opener electronics, are worth a call. In Framingham, that call is to a specialist who works on all the major brands and treats spring repair as its own discipline.
Get a Free Estimate in Framingham
If your door has a broken spring, a snapped cable, a bent panel, or a noisy opener, it’s worth having a trained technician take a look. We work on the brand already on your door, from Clopay and Amarr to Craftsman and Wayne Dalton, and we can talk you through what needs to happen and what it’ll cost before any work starts. The estimate is free, and the written quote sets the final price. Call (844) 443-3741. We answer 24/7. Fast dispatch from 7am to 7pm, Sunday through Friday. For more on what we handle, visit Framingham Garage Door Repair.
Written by the team at Framingham Garage Door Repair.